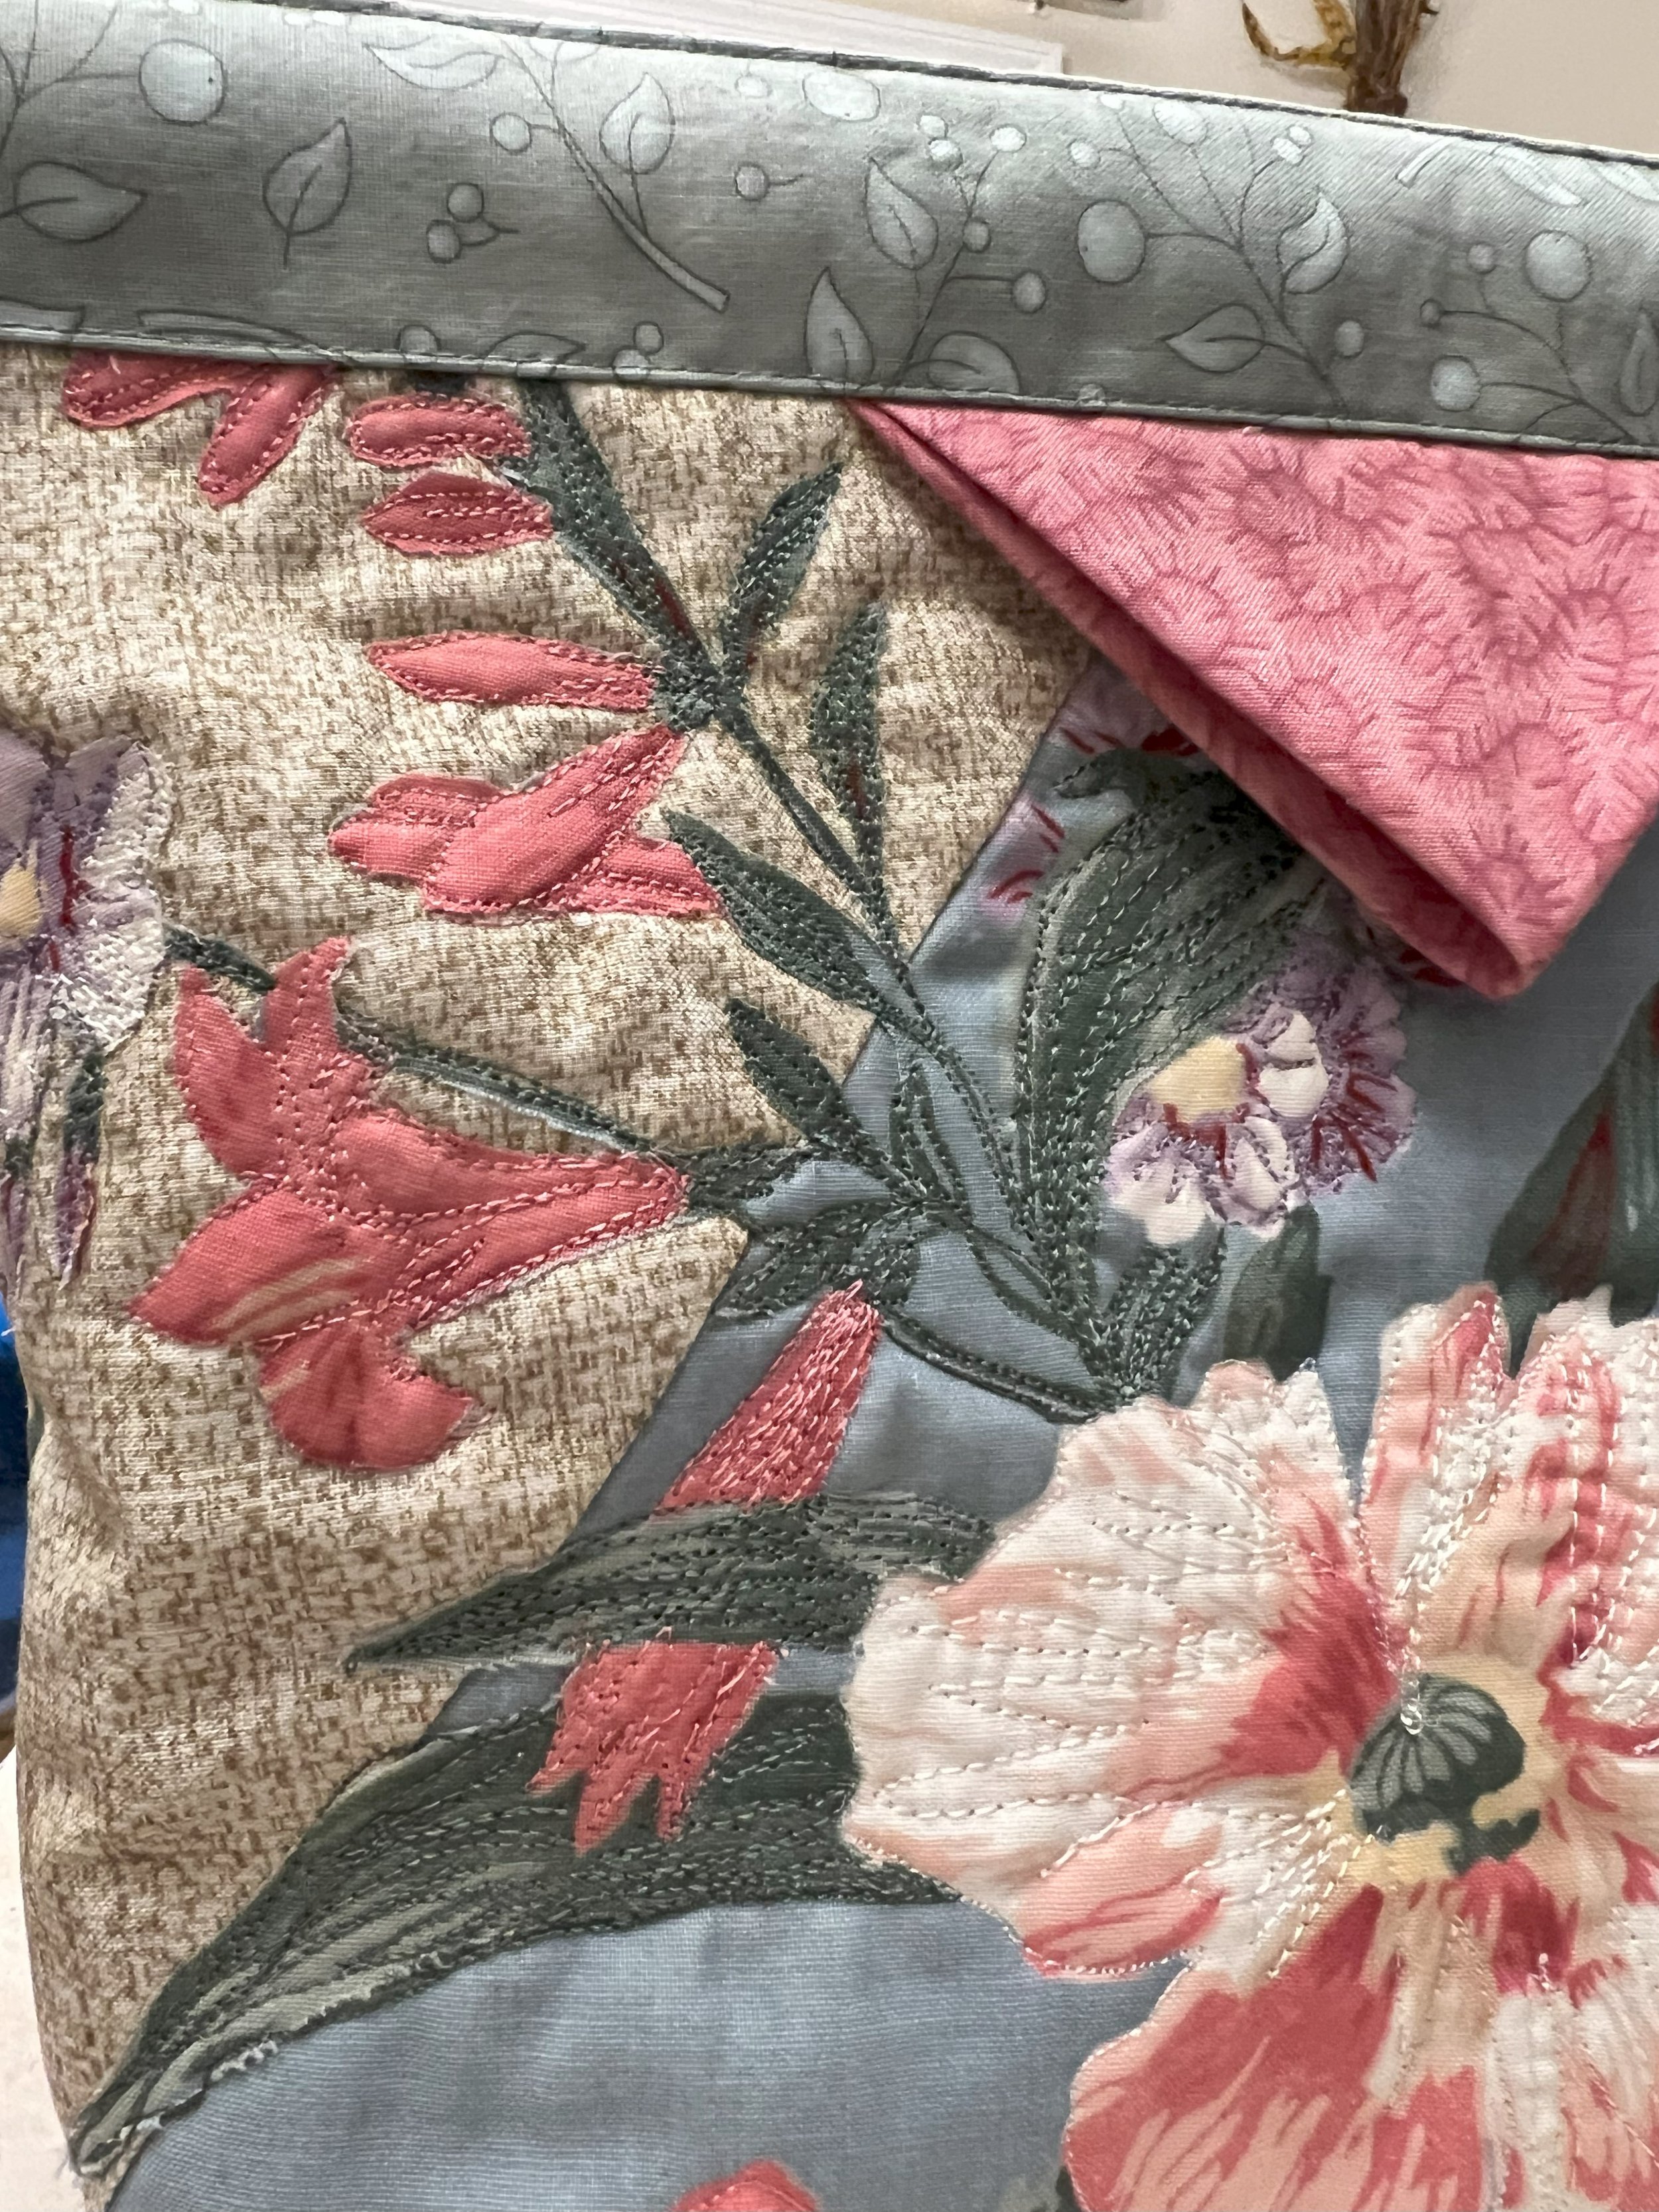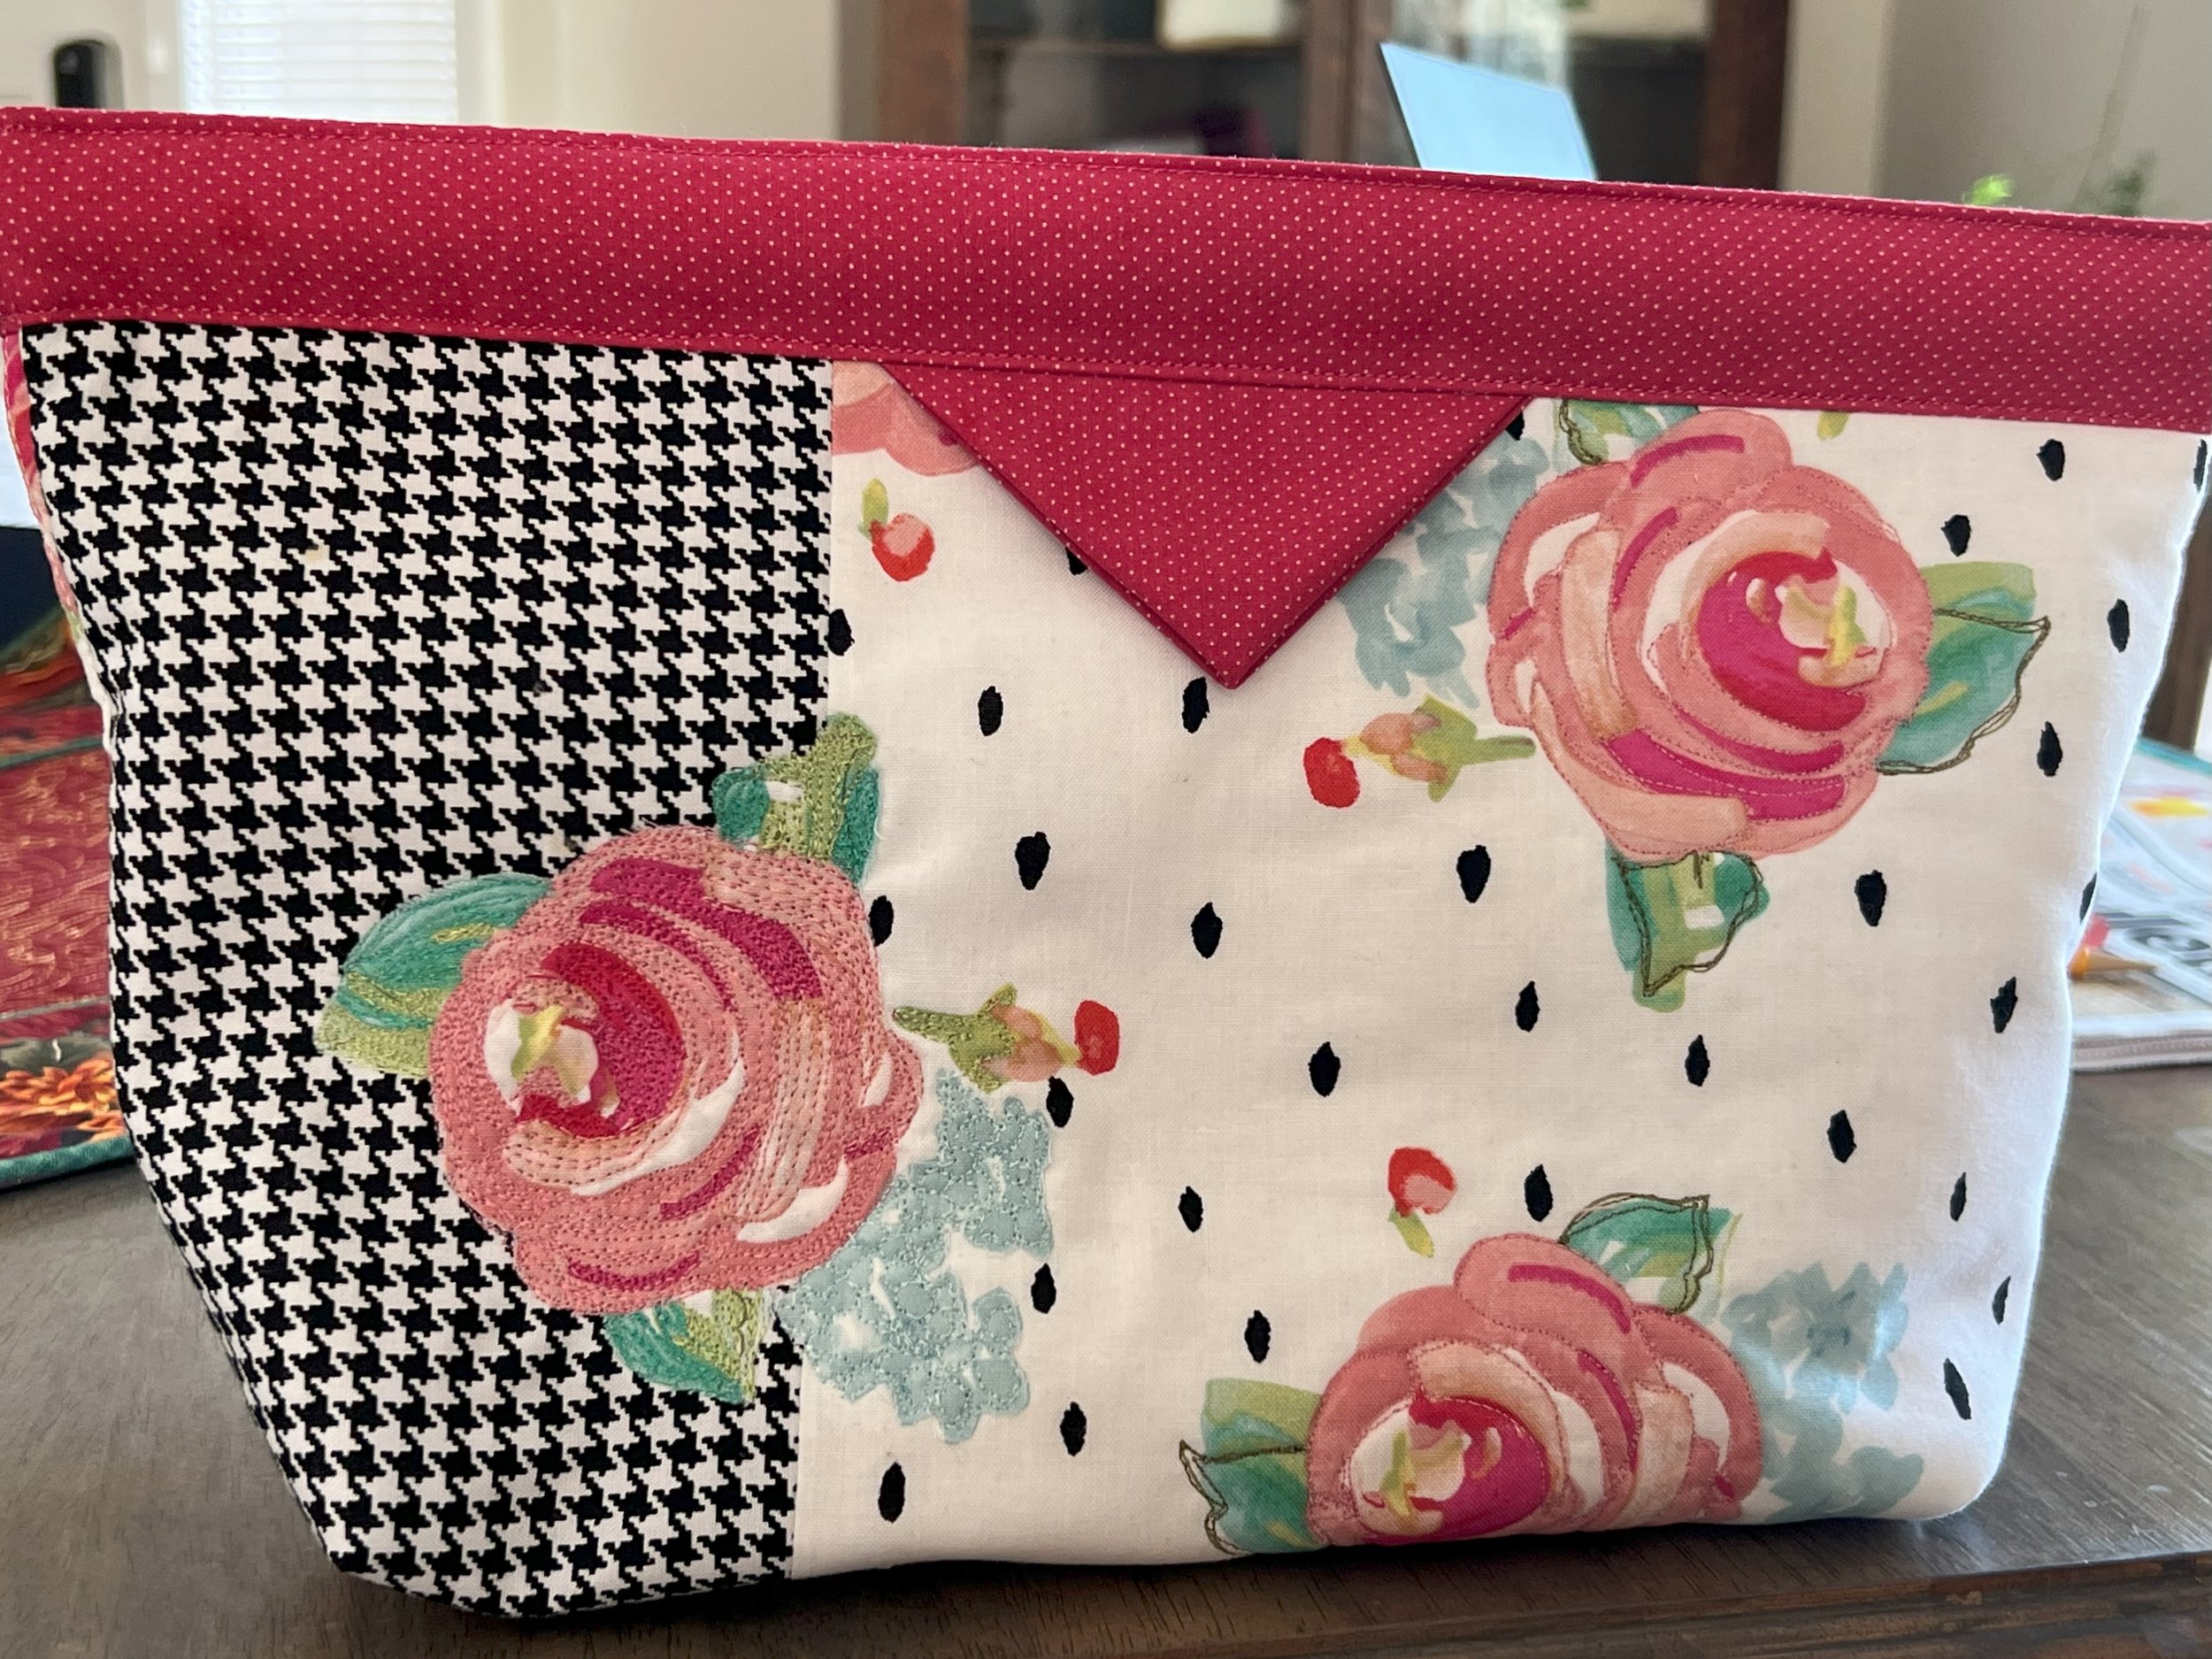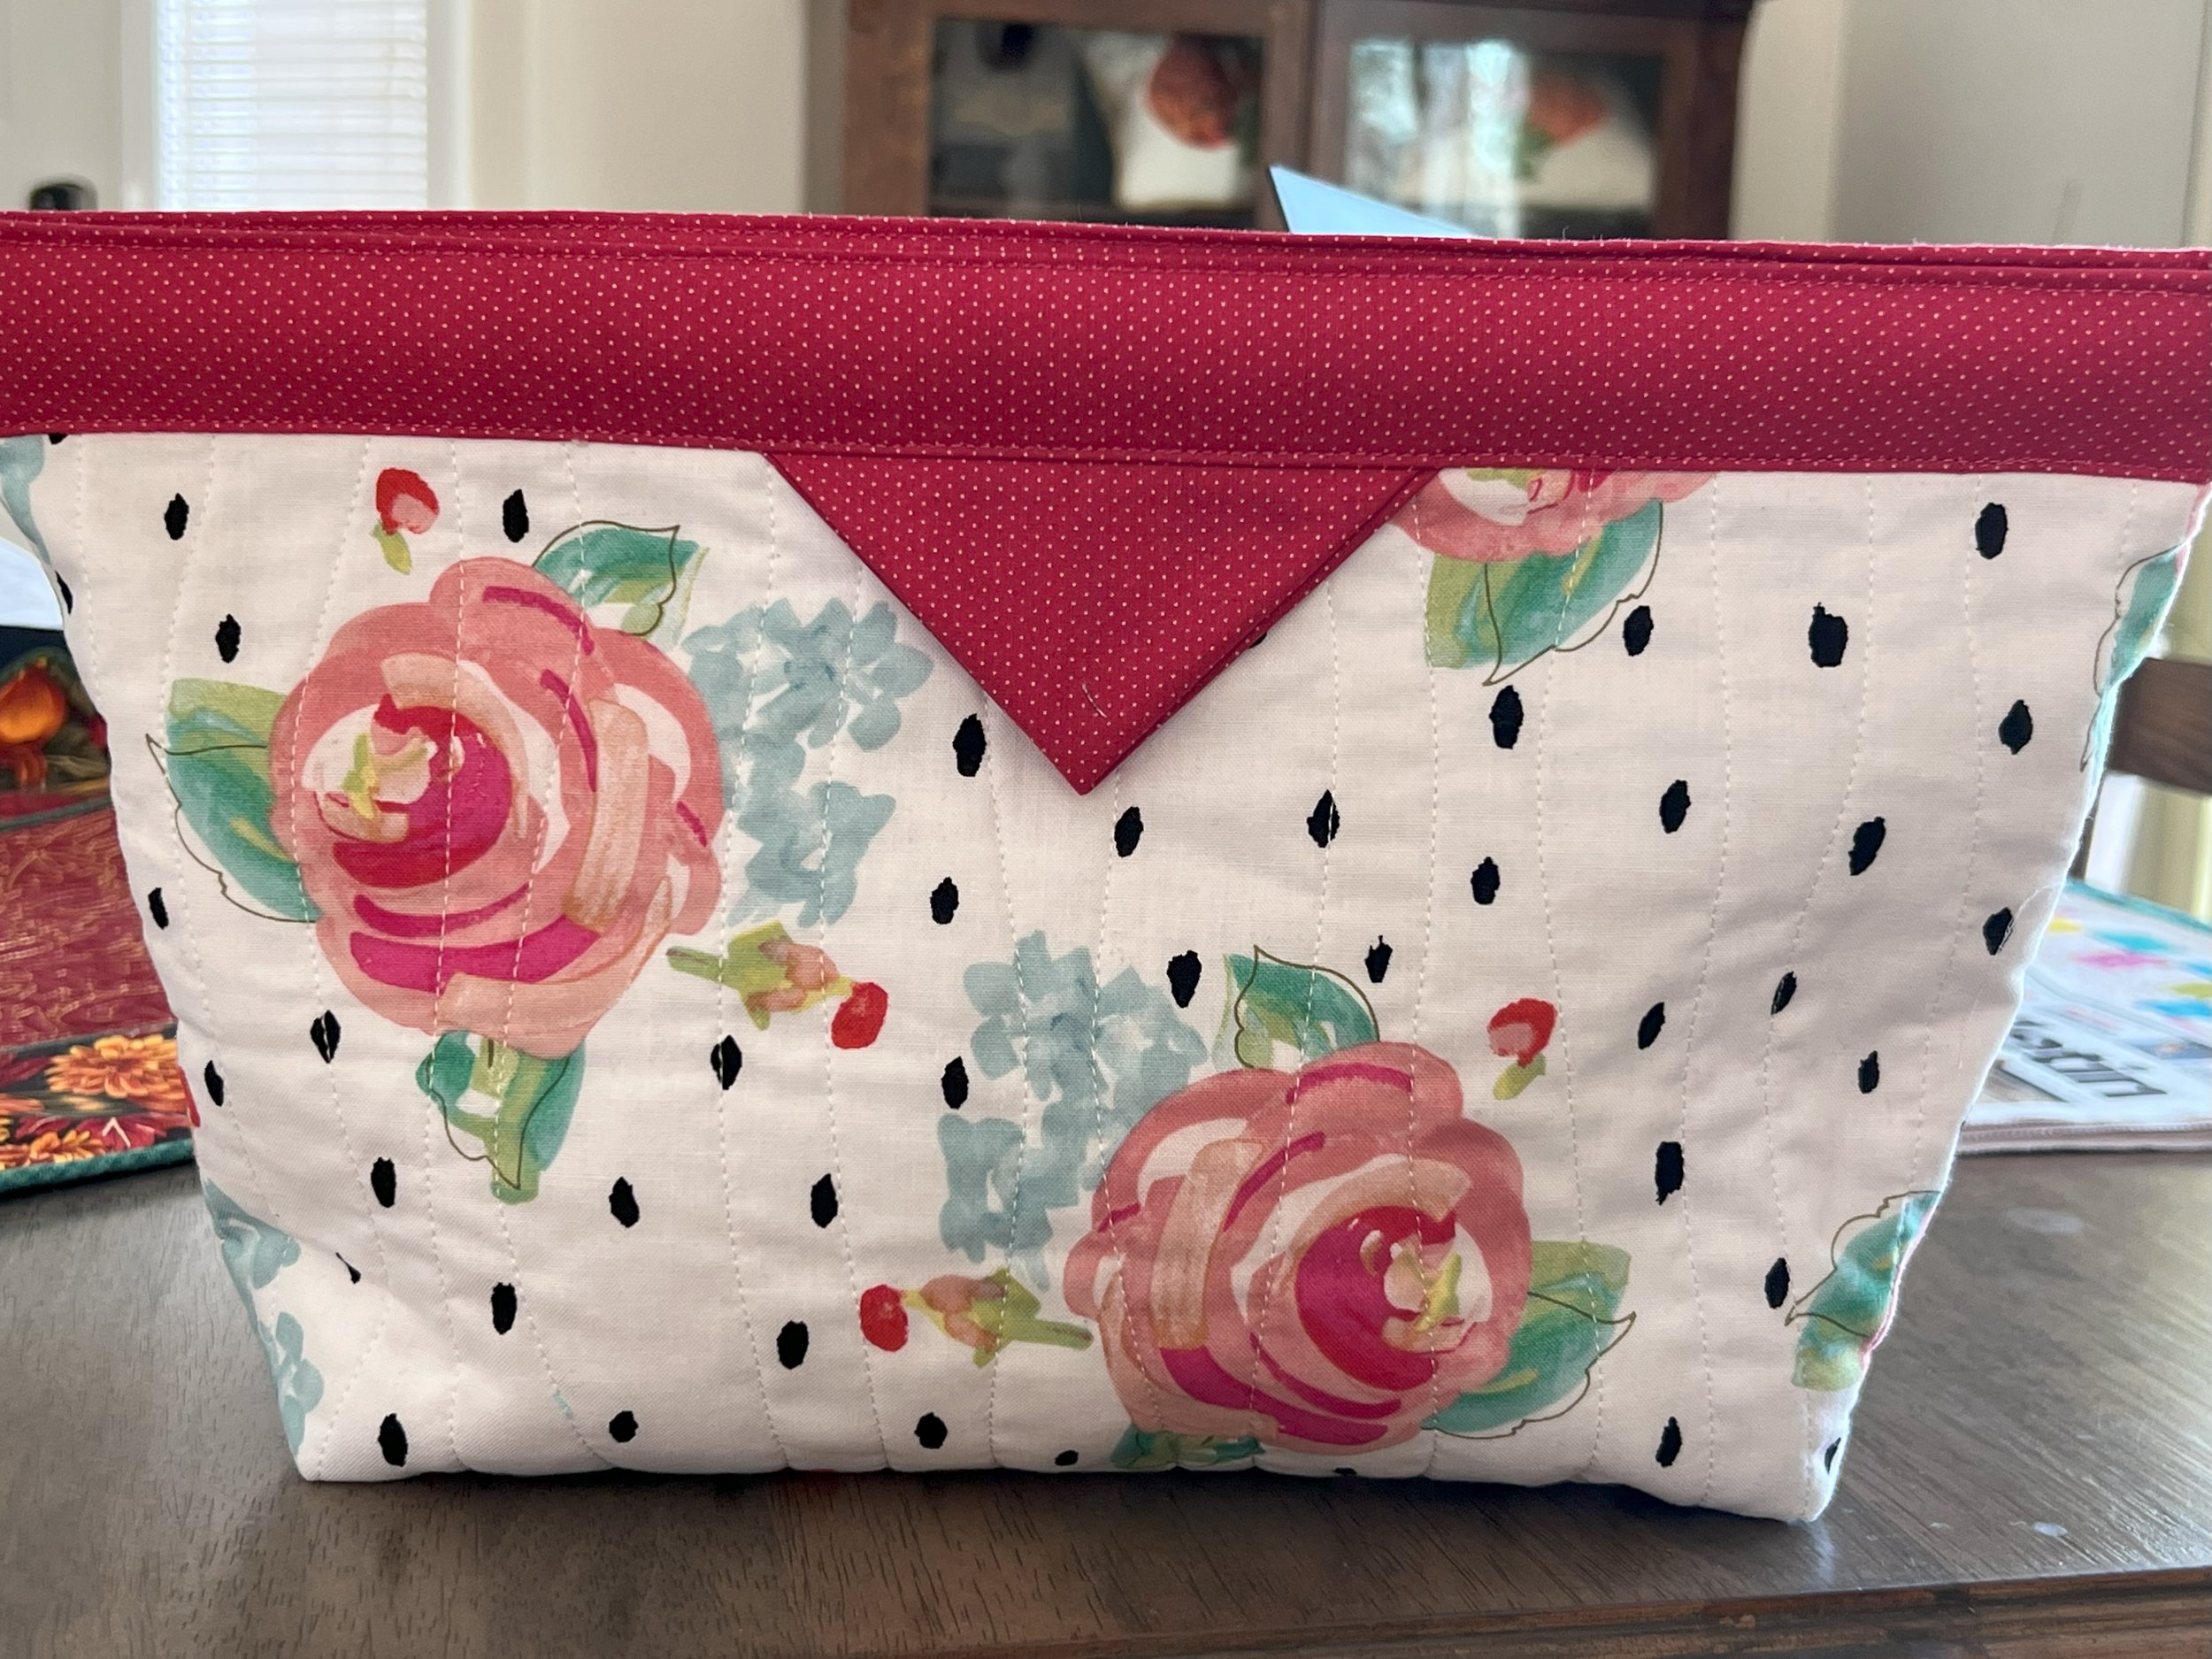
I have been quilting for a long time and sewing for even longer so sometimes I must find a way to make things a little more interesting or more challenging for me. Simply cutting pieces out of fabric and sewing them back together gets a little boring. I am not a good pattern follower, at least not the second time I make something. So, I like to embellish things!
I am lucky enough to have been invited to teach a class or two at Sew Smart, LLC in Wausau, WI @sewsmart. Mary is the owner of this wonderful store. The store is filled with inspiration and gorgeous fabrics.
The upcoming class in October will be featuring free-motion couching. To get ready for the class, I made a new sample or two and since it is getting close to the holiday season I made my samples for Christmas.

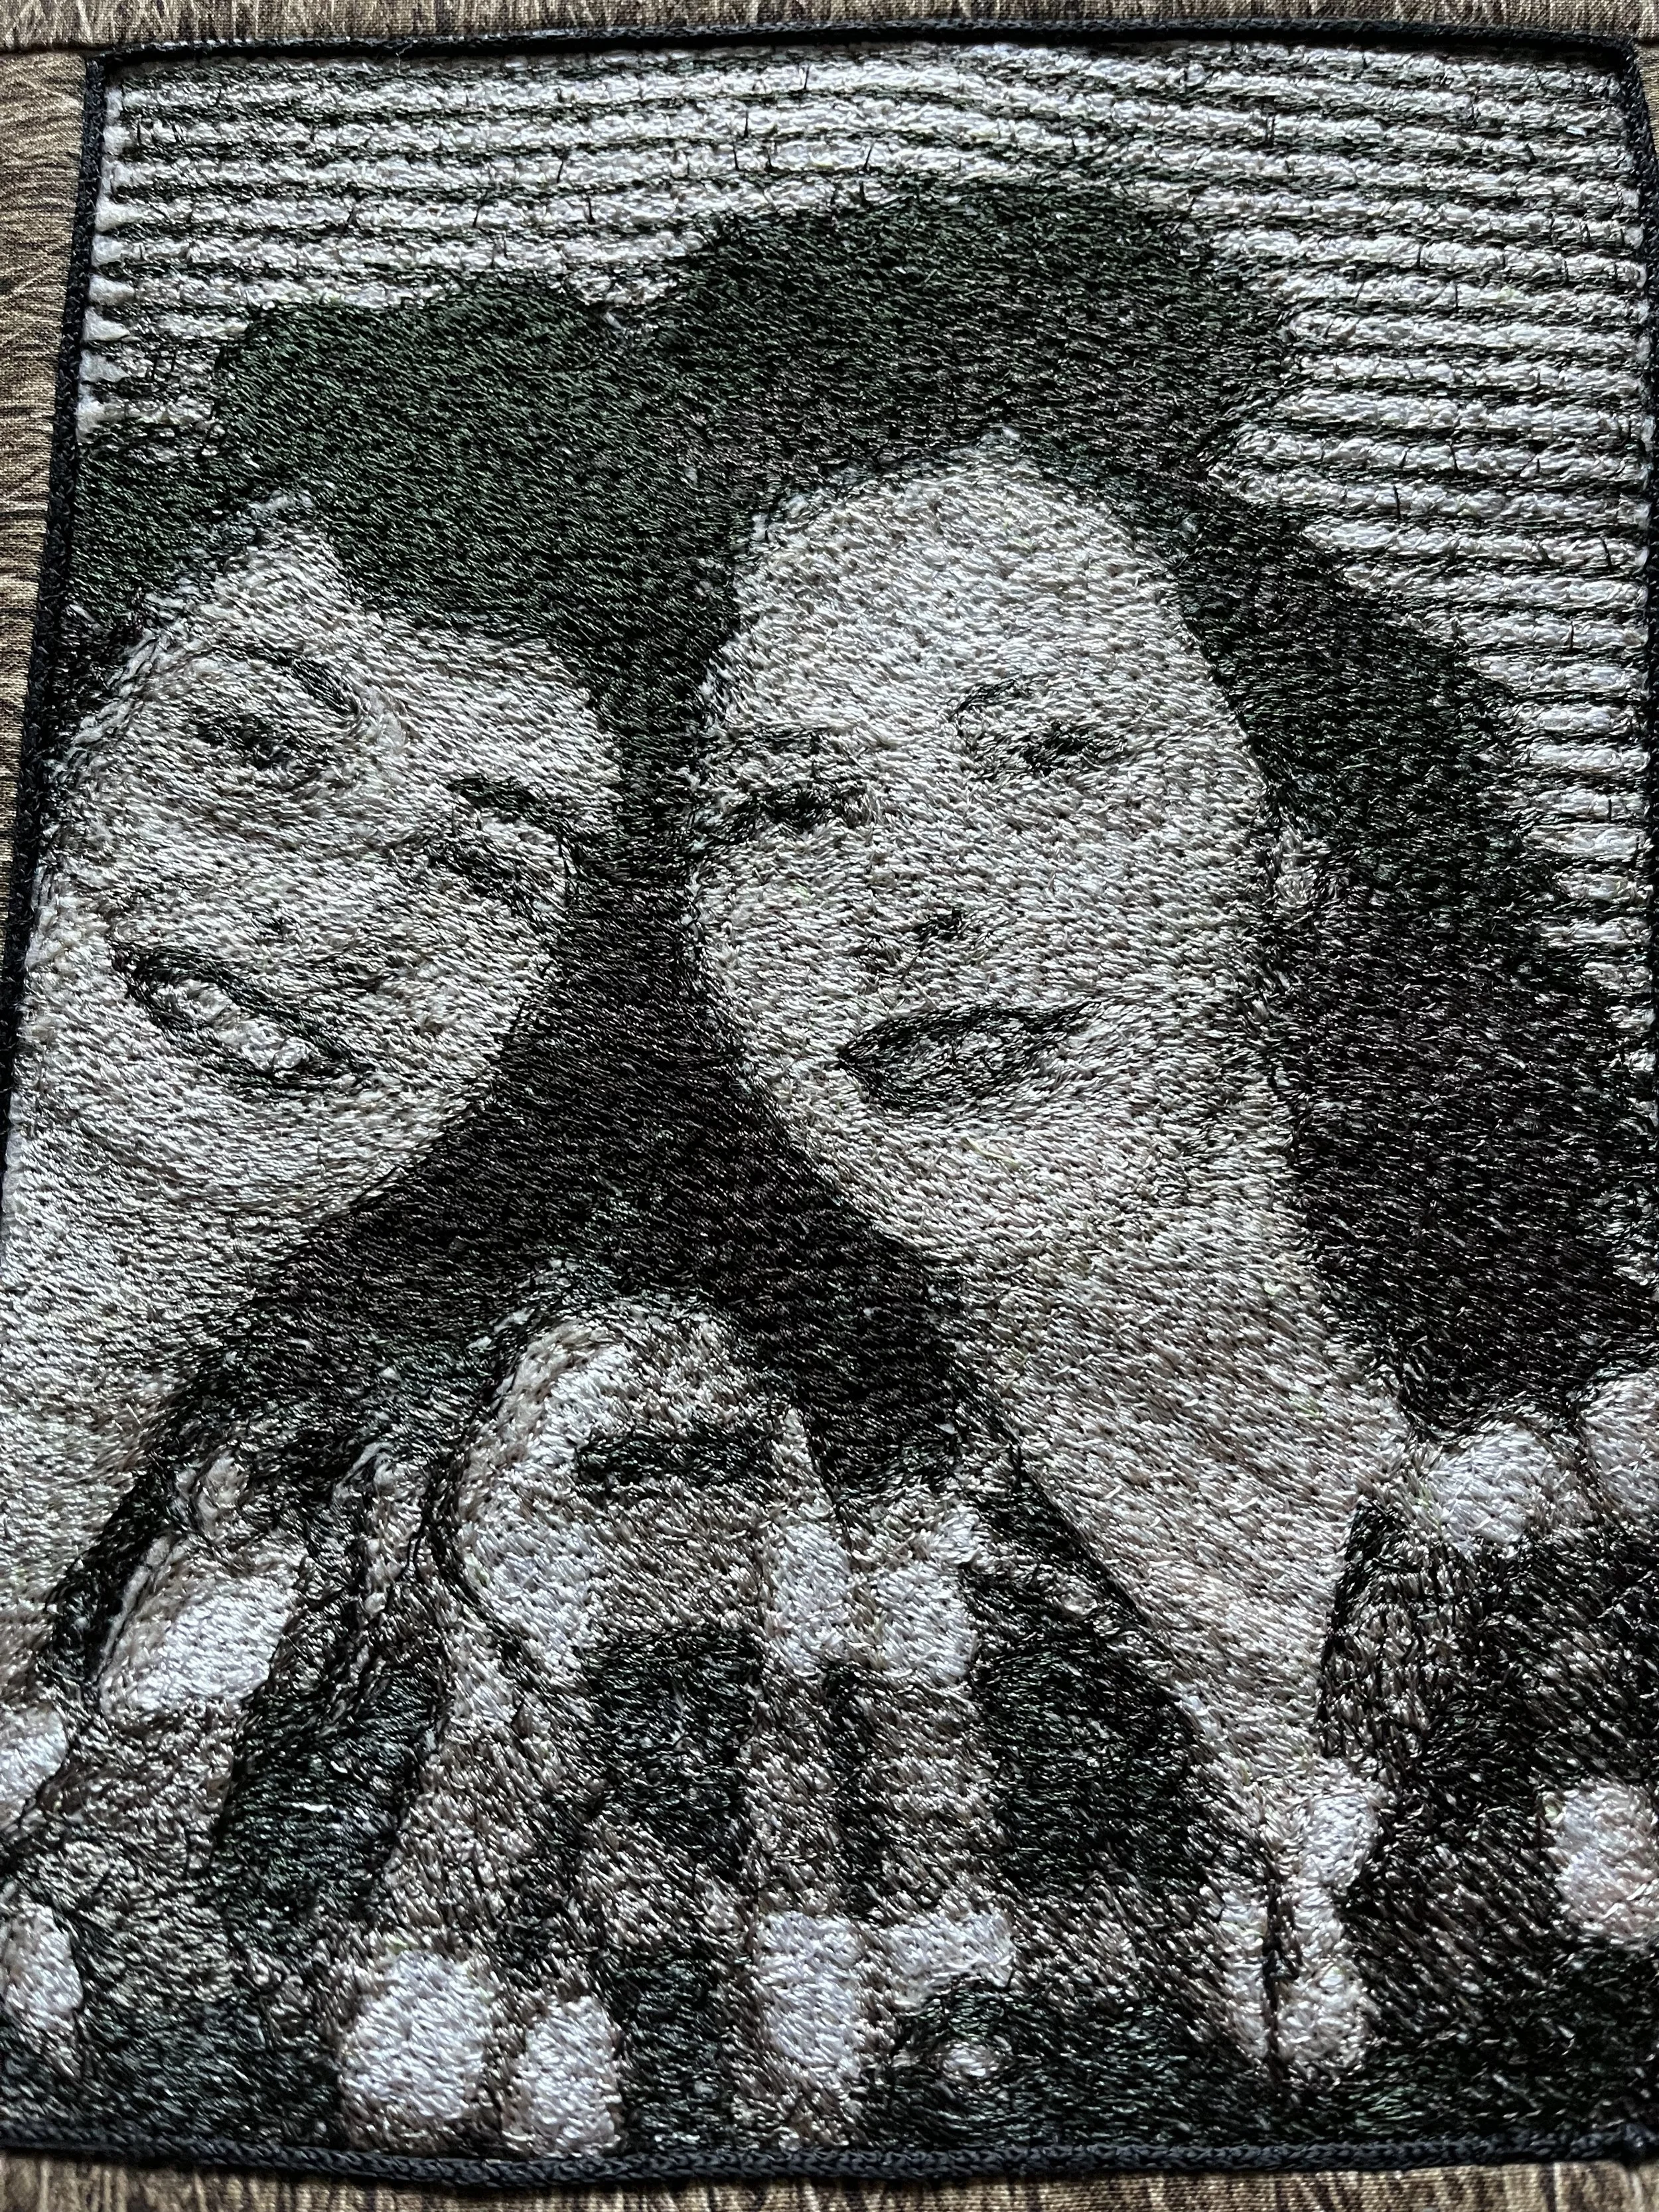
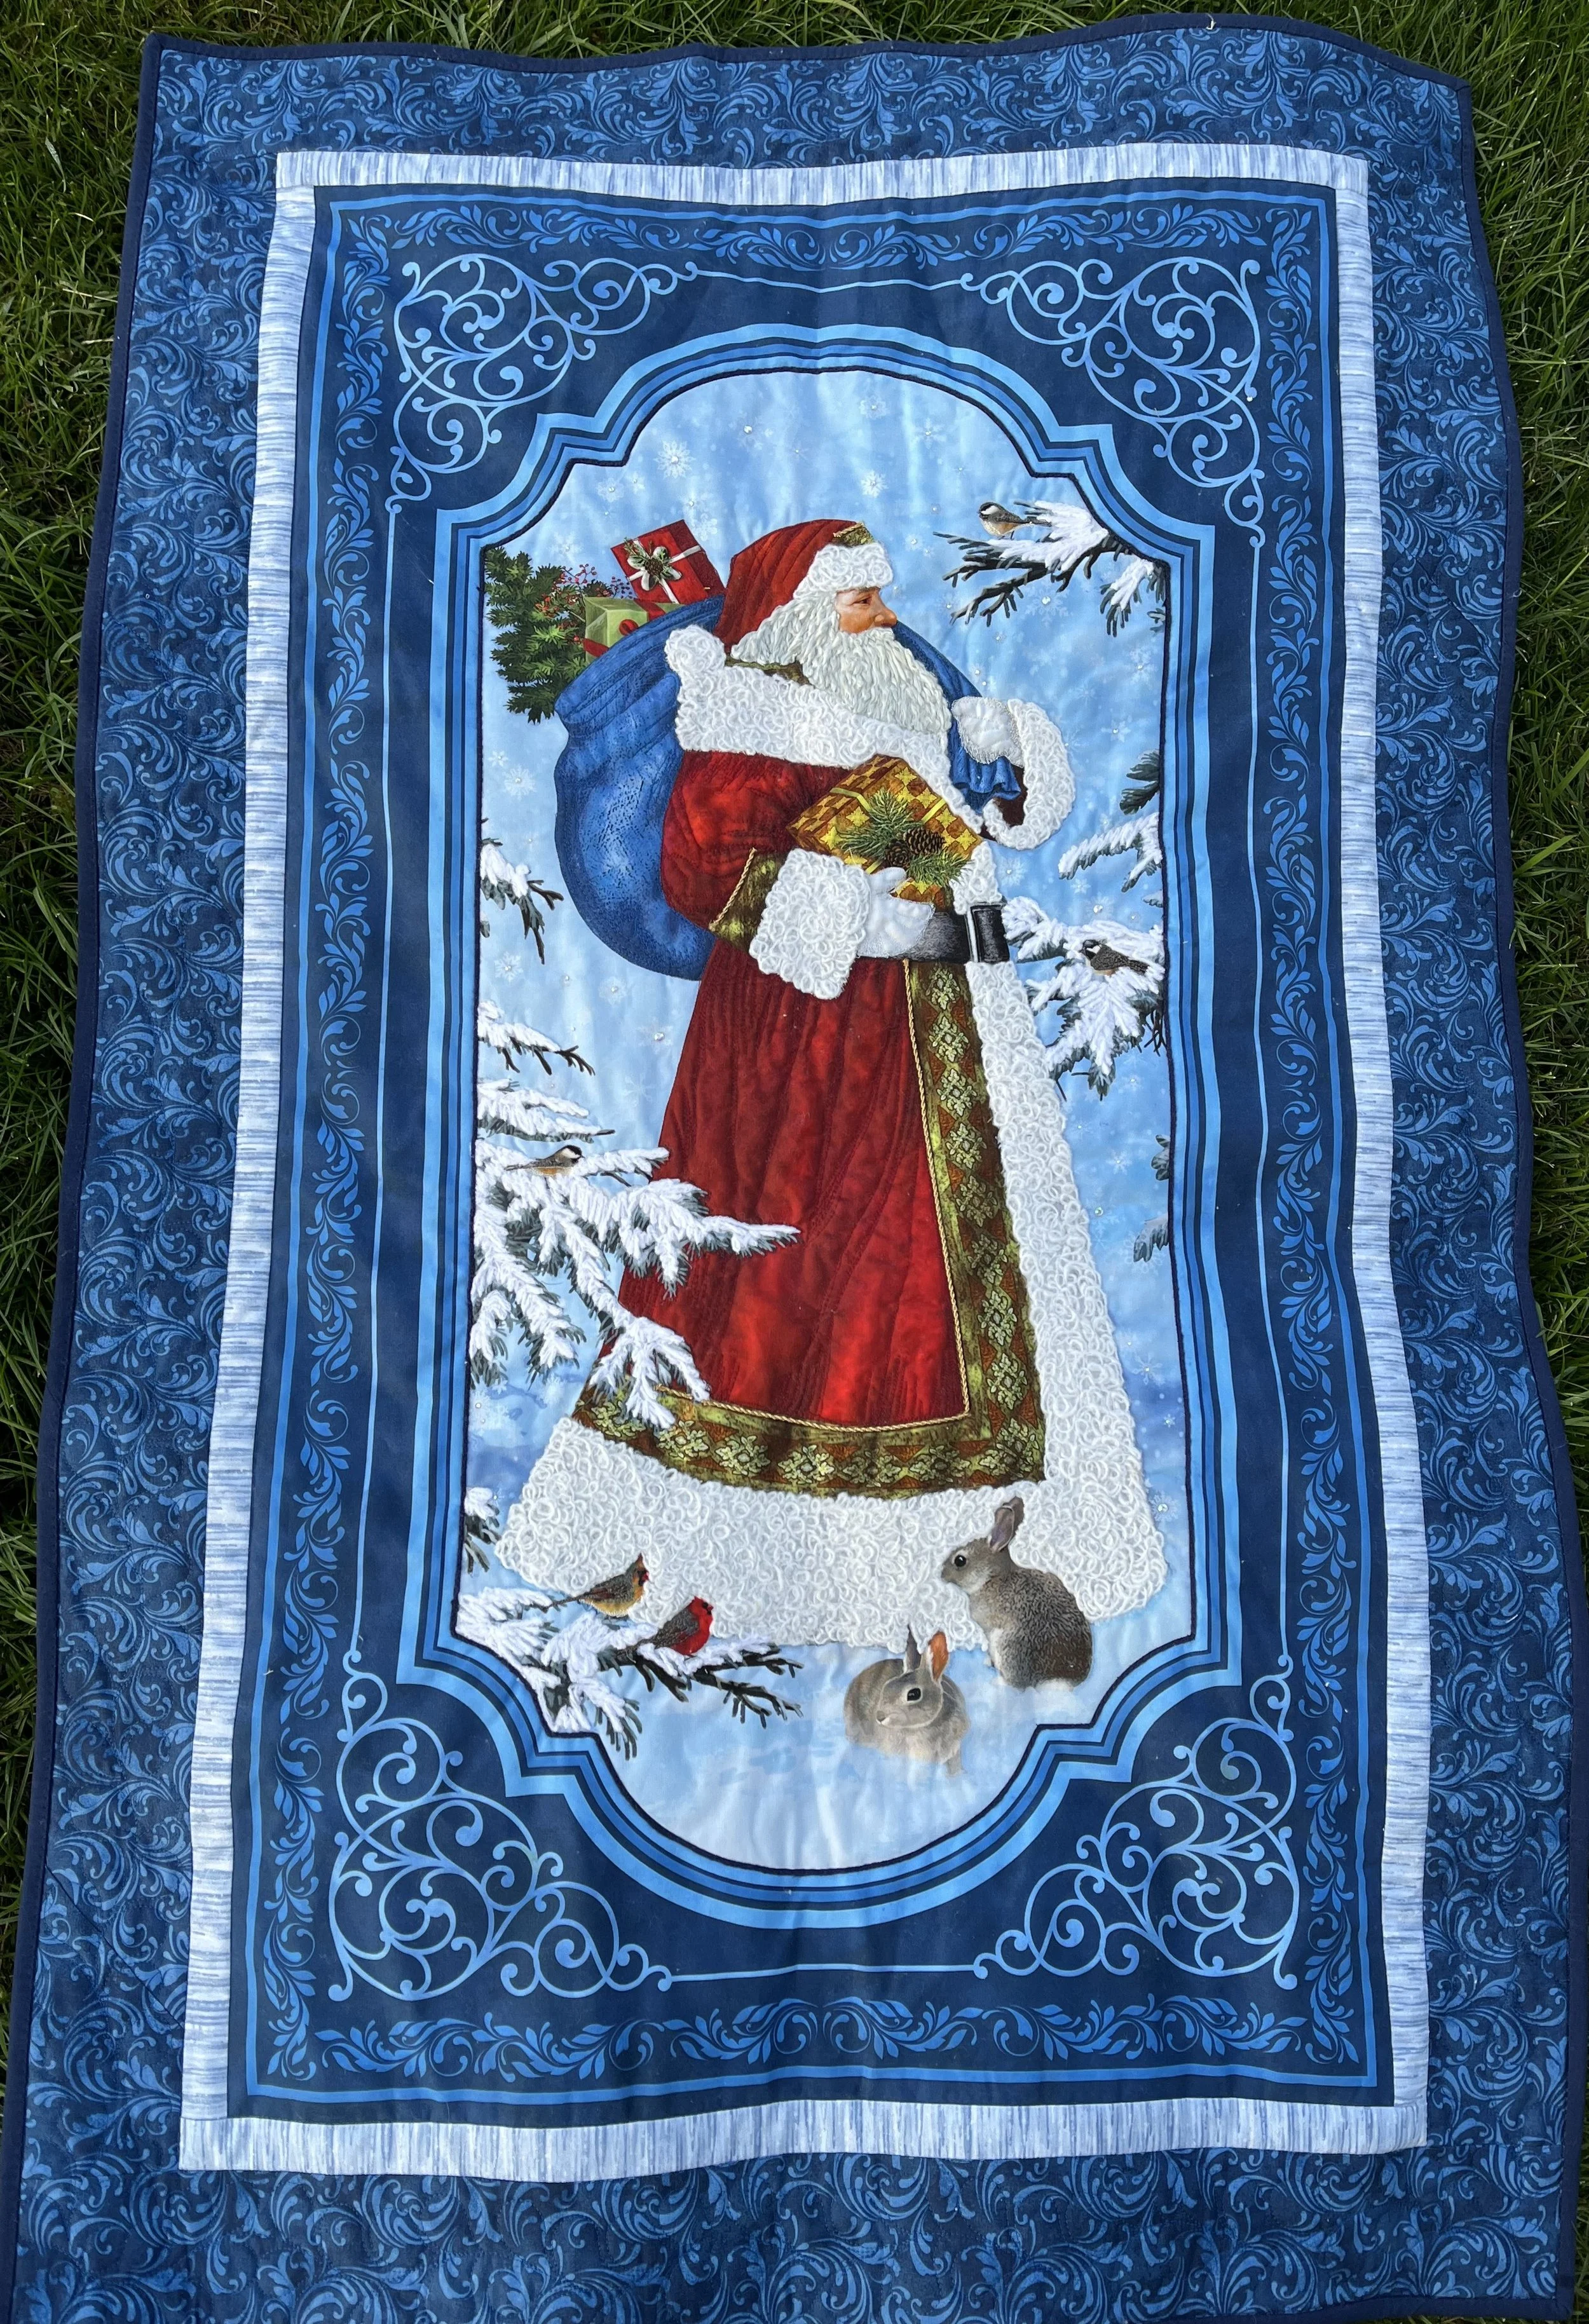
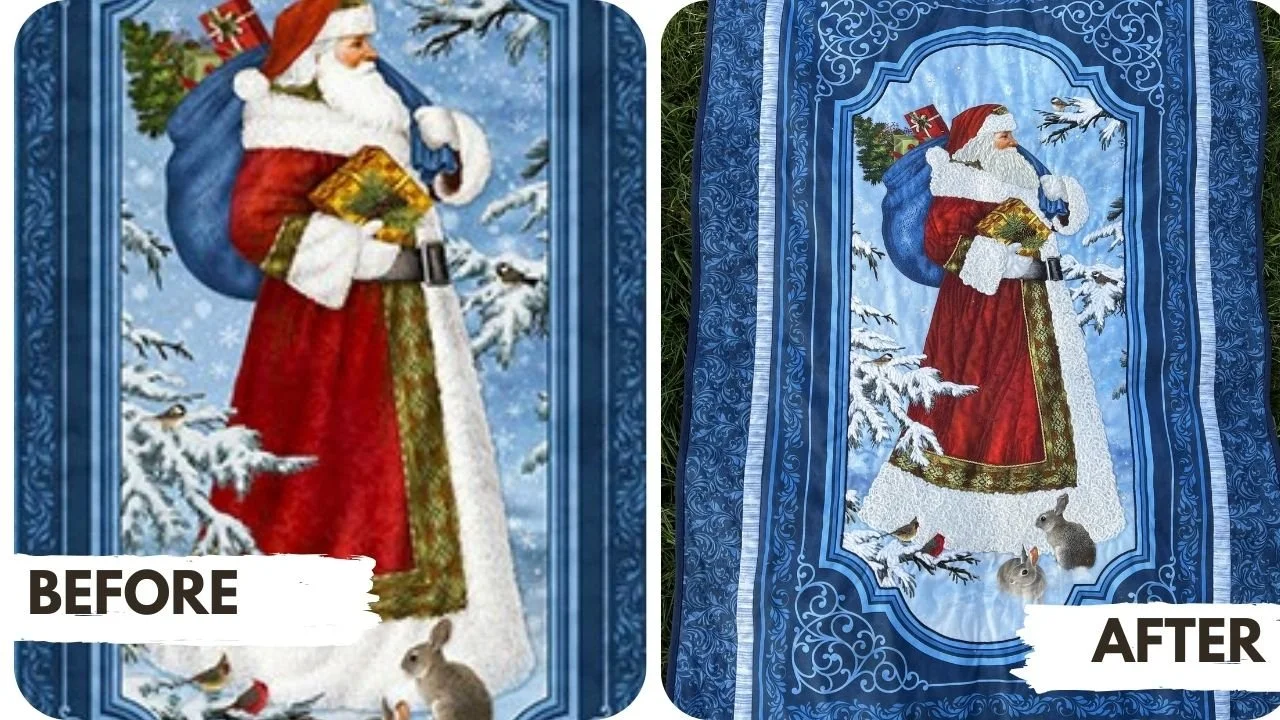
First up is this beautiful panel; St. Nicholas by Liz Goodrick @northcott.
The panel has all the beauty and feelings of the season. But like I said, I thought maybe I could add a little texture.
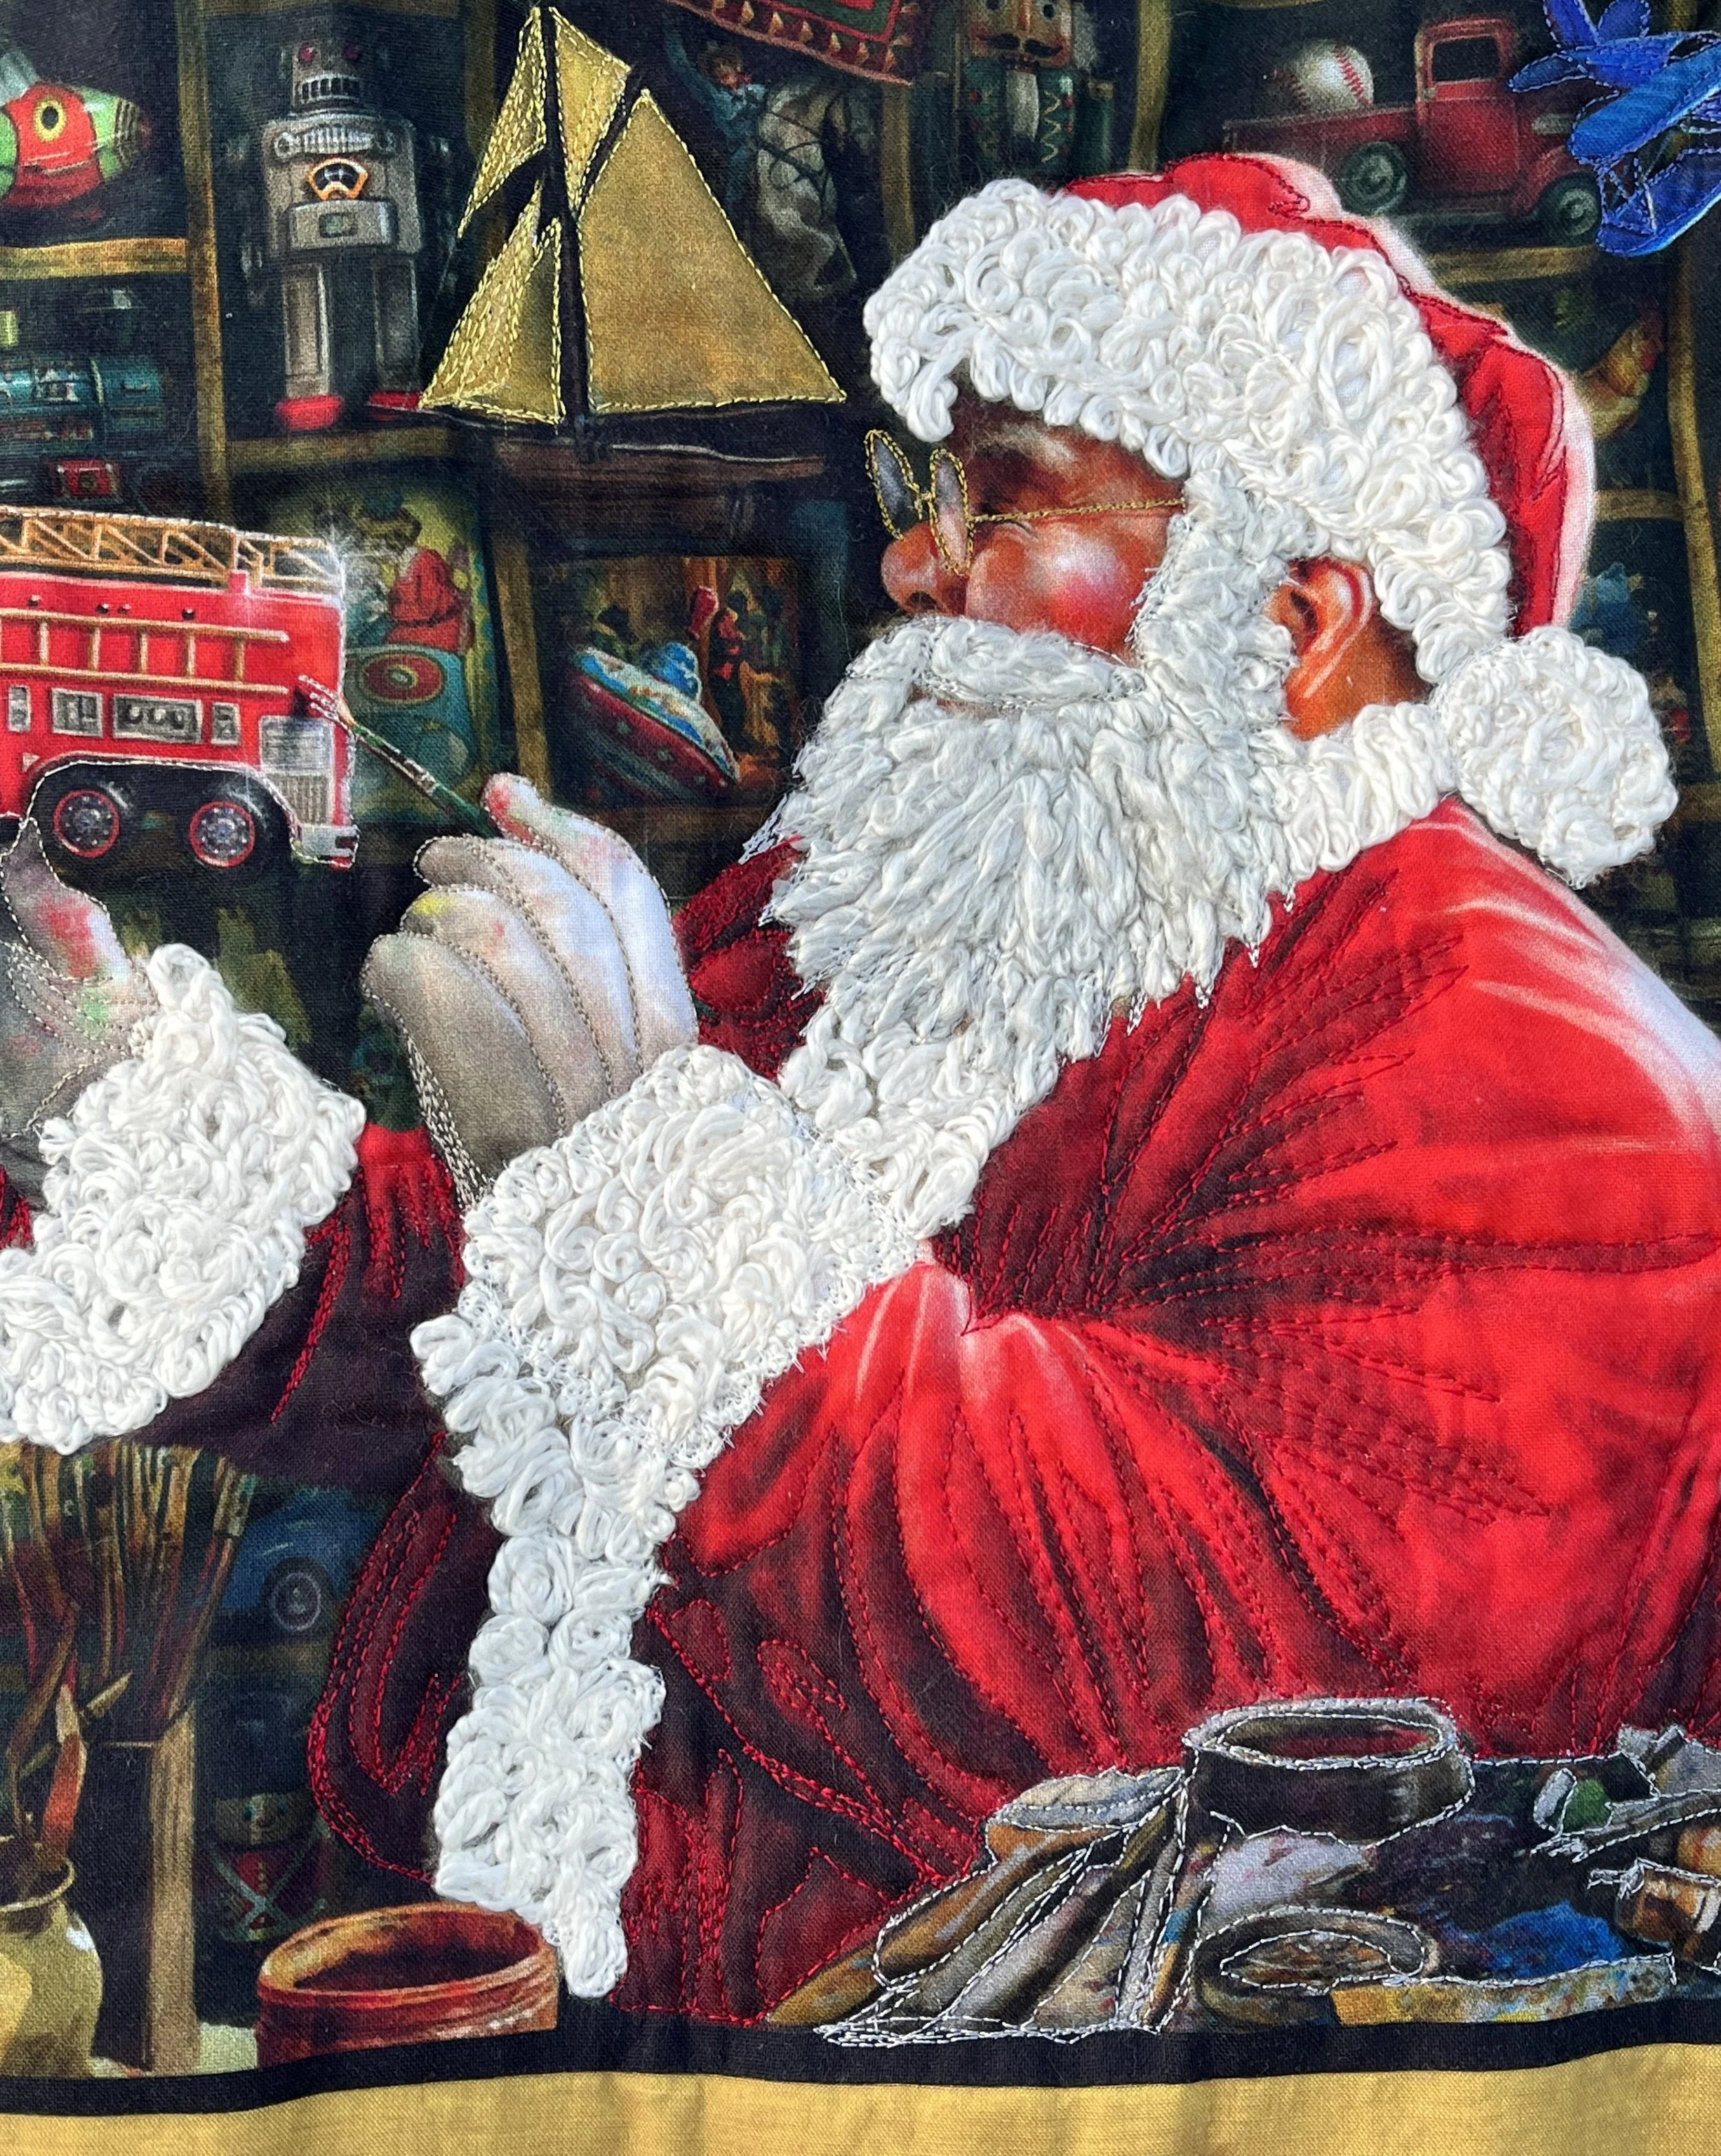
This St. Nick is beautiful just as he is but I grabbed my bin of yarn and my free-motion couching foot and I gave him a little texture in his fur.


With fur looking pretty darn good, even if I say it myself, I decided his beard needed a little texture also. I reached back into my yarn bin and found what I thought would be the perfect yarn, a little knubby with a hint of grey. I acutally looked at my husband’s beard for the yarn inspiration, because I thought he and this St. Nick might be in the same stage of life, legends to some but not spring chickens!
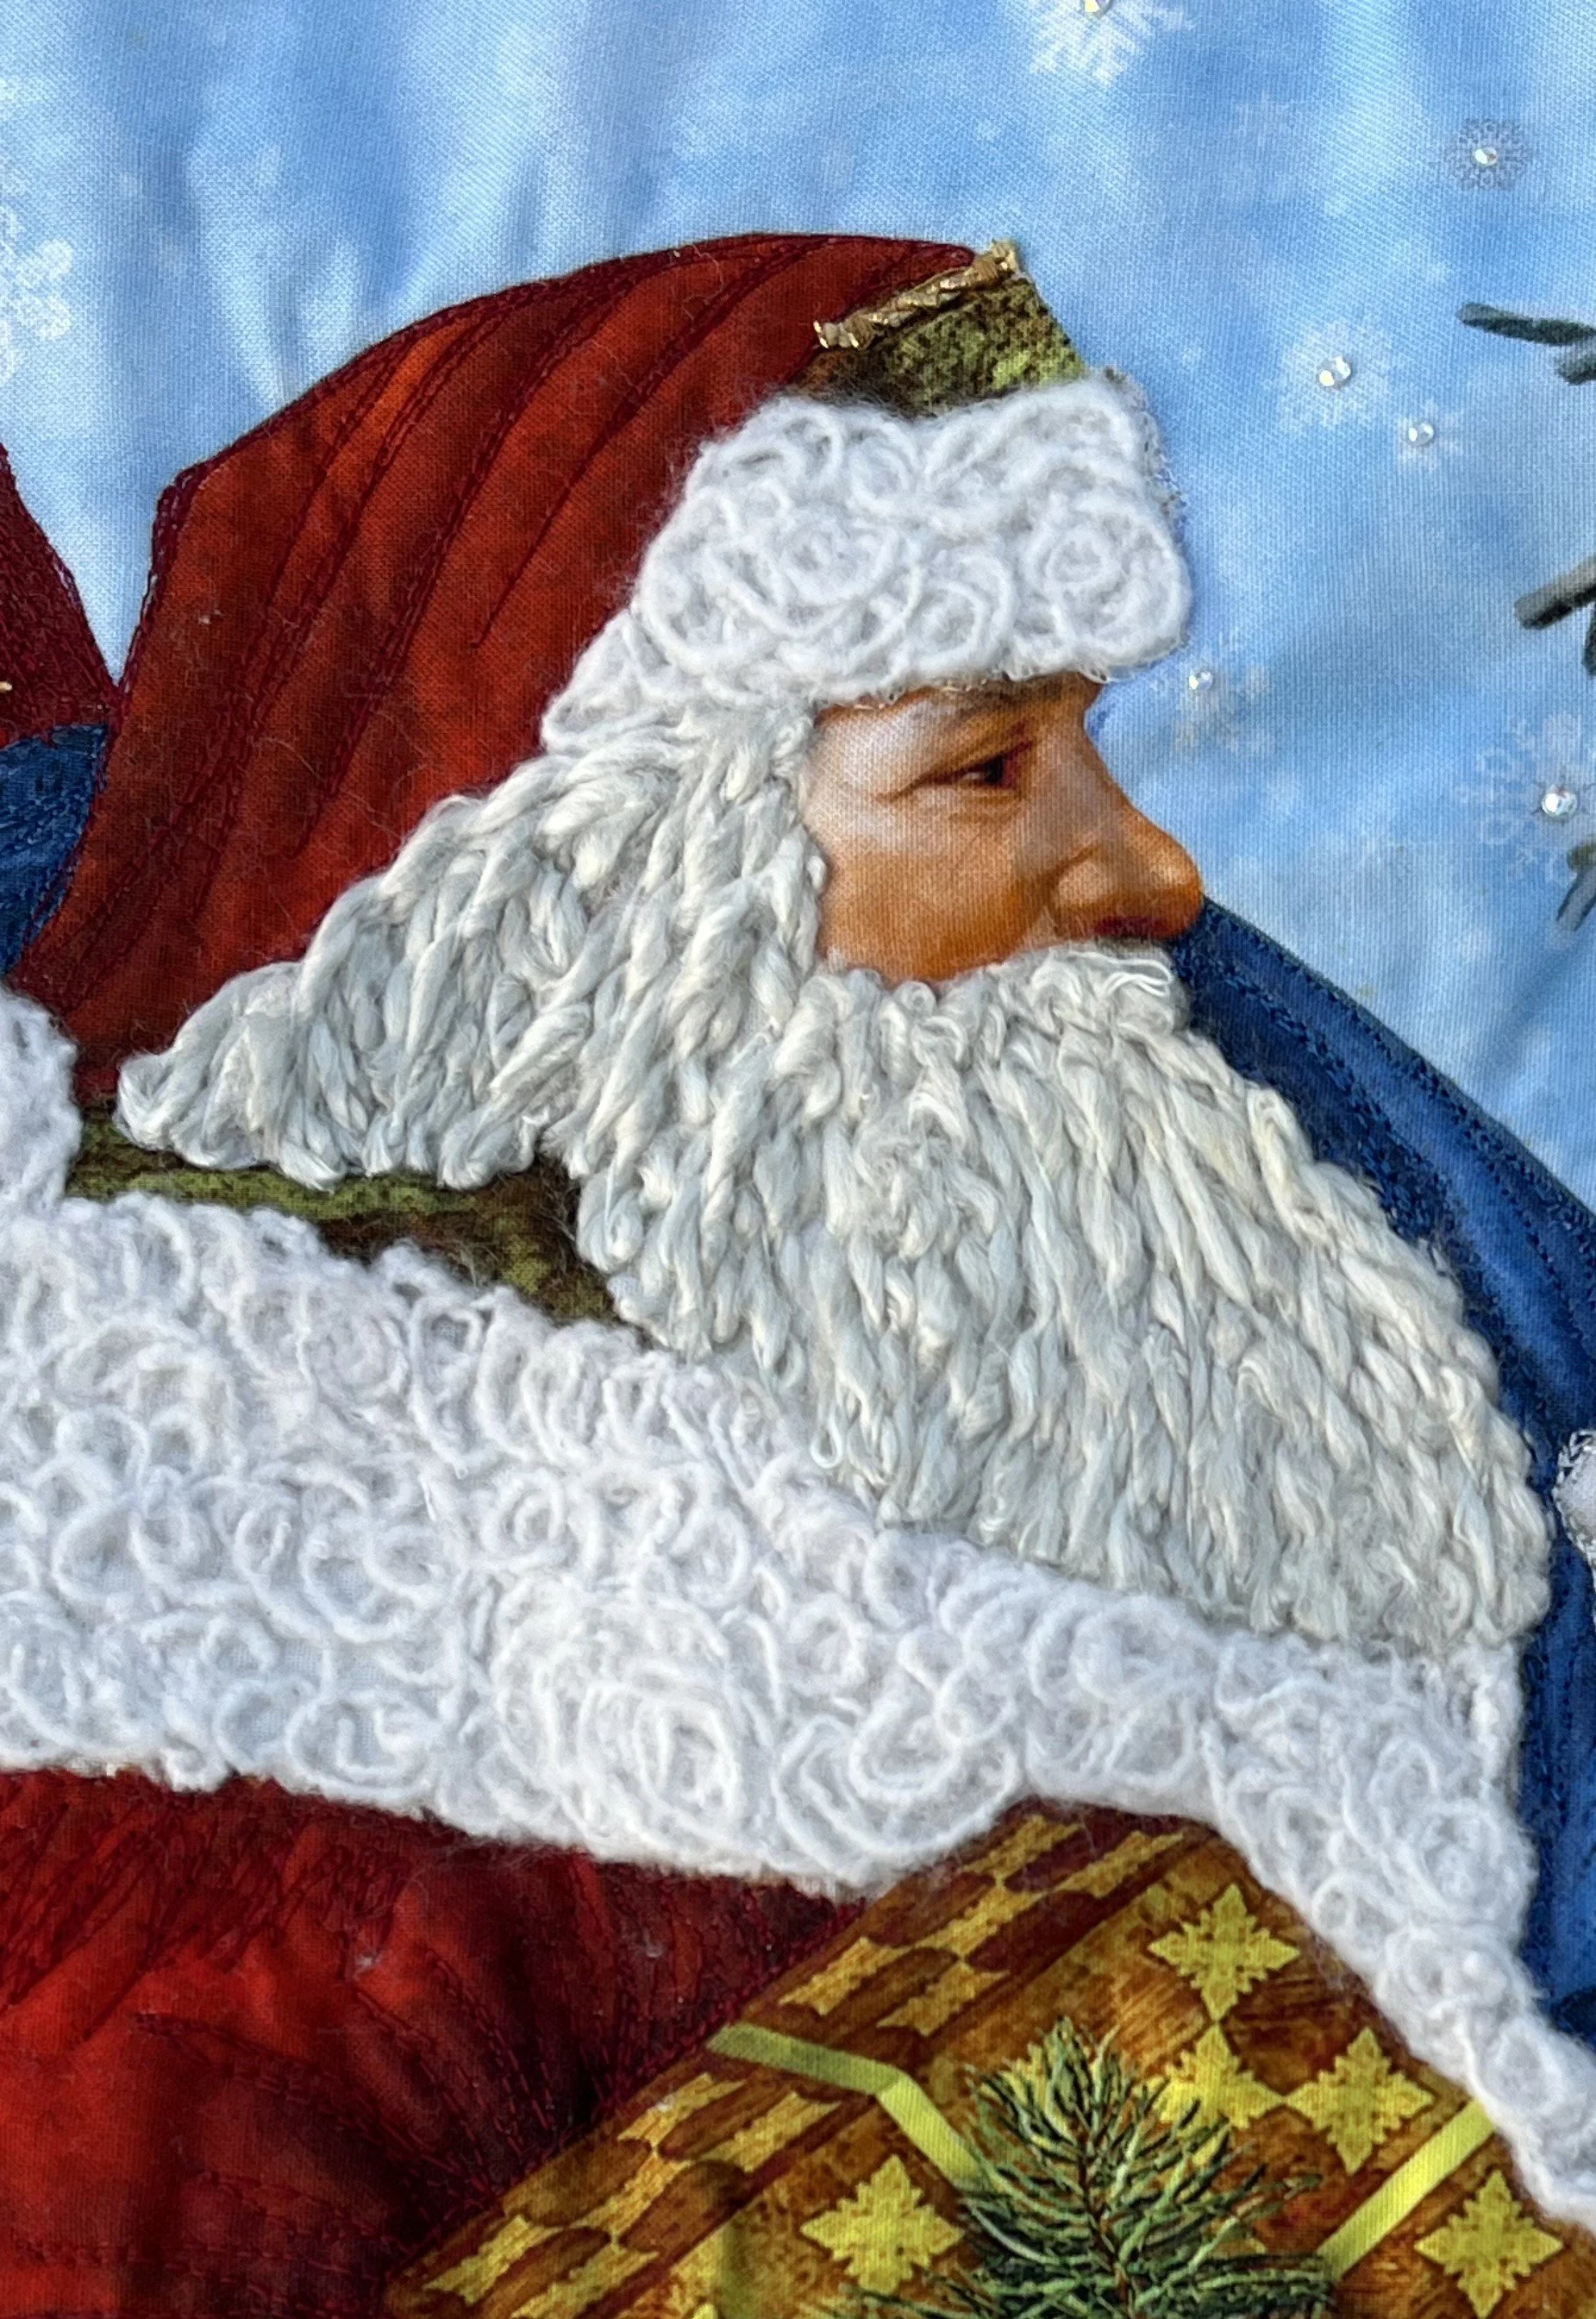
With St Nick looking pretty good, I went back to my yarn bin to find a white yarn with a just a little sparkle in it and I knew this would make the perfect snow. If you live where it snows in winter you have seen that fresh fallen snow that sparkles like diamonds when the sun shines on it. Well that is the snow look I wanted. The sparkle does not show in the picture but trust me it is there.
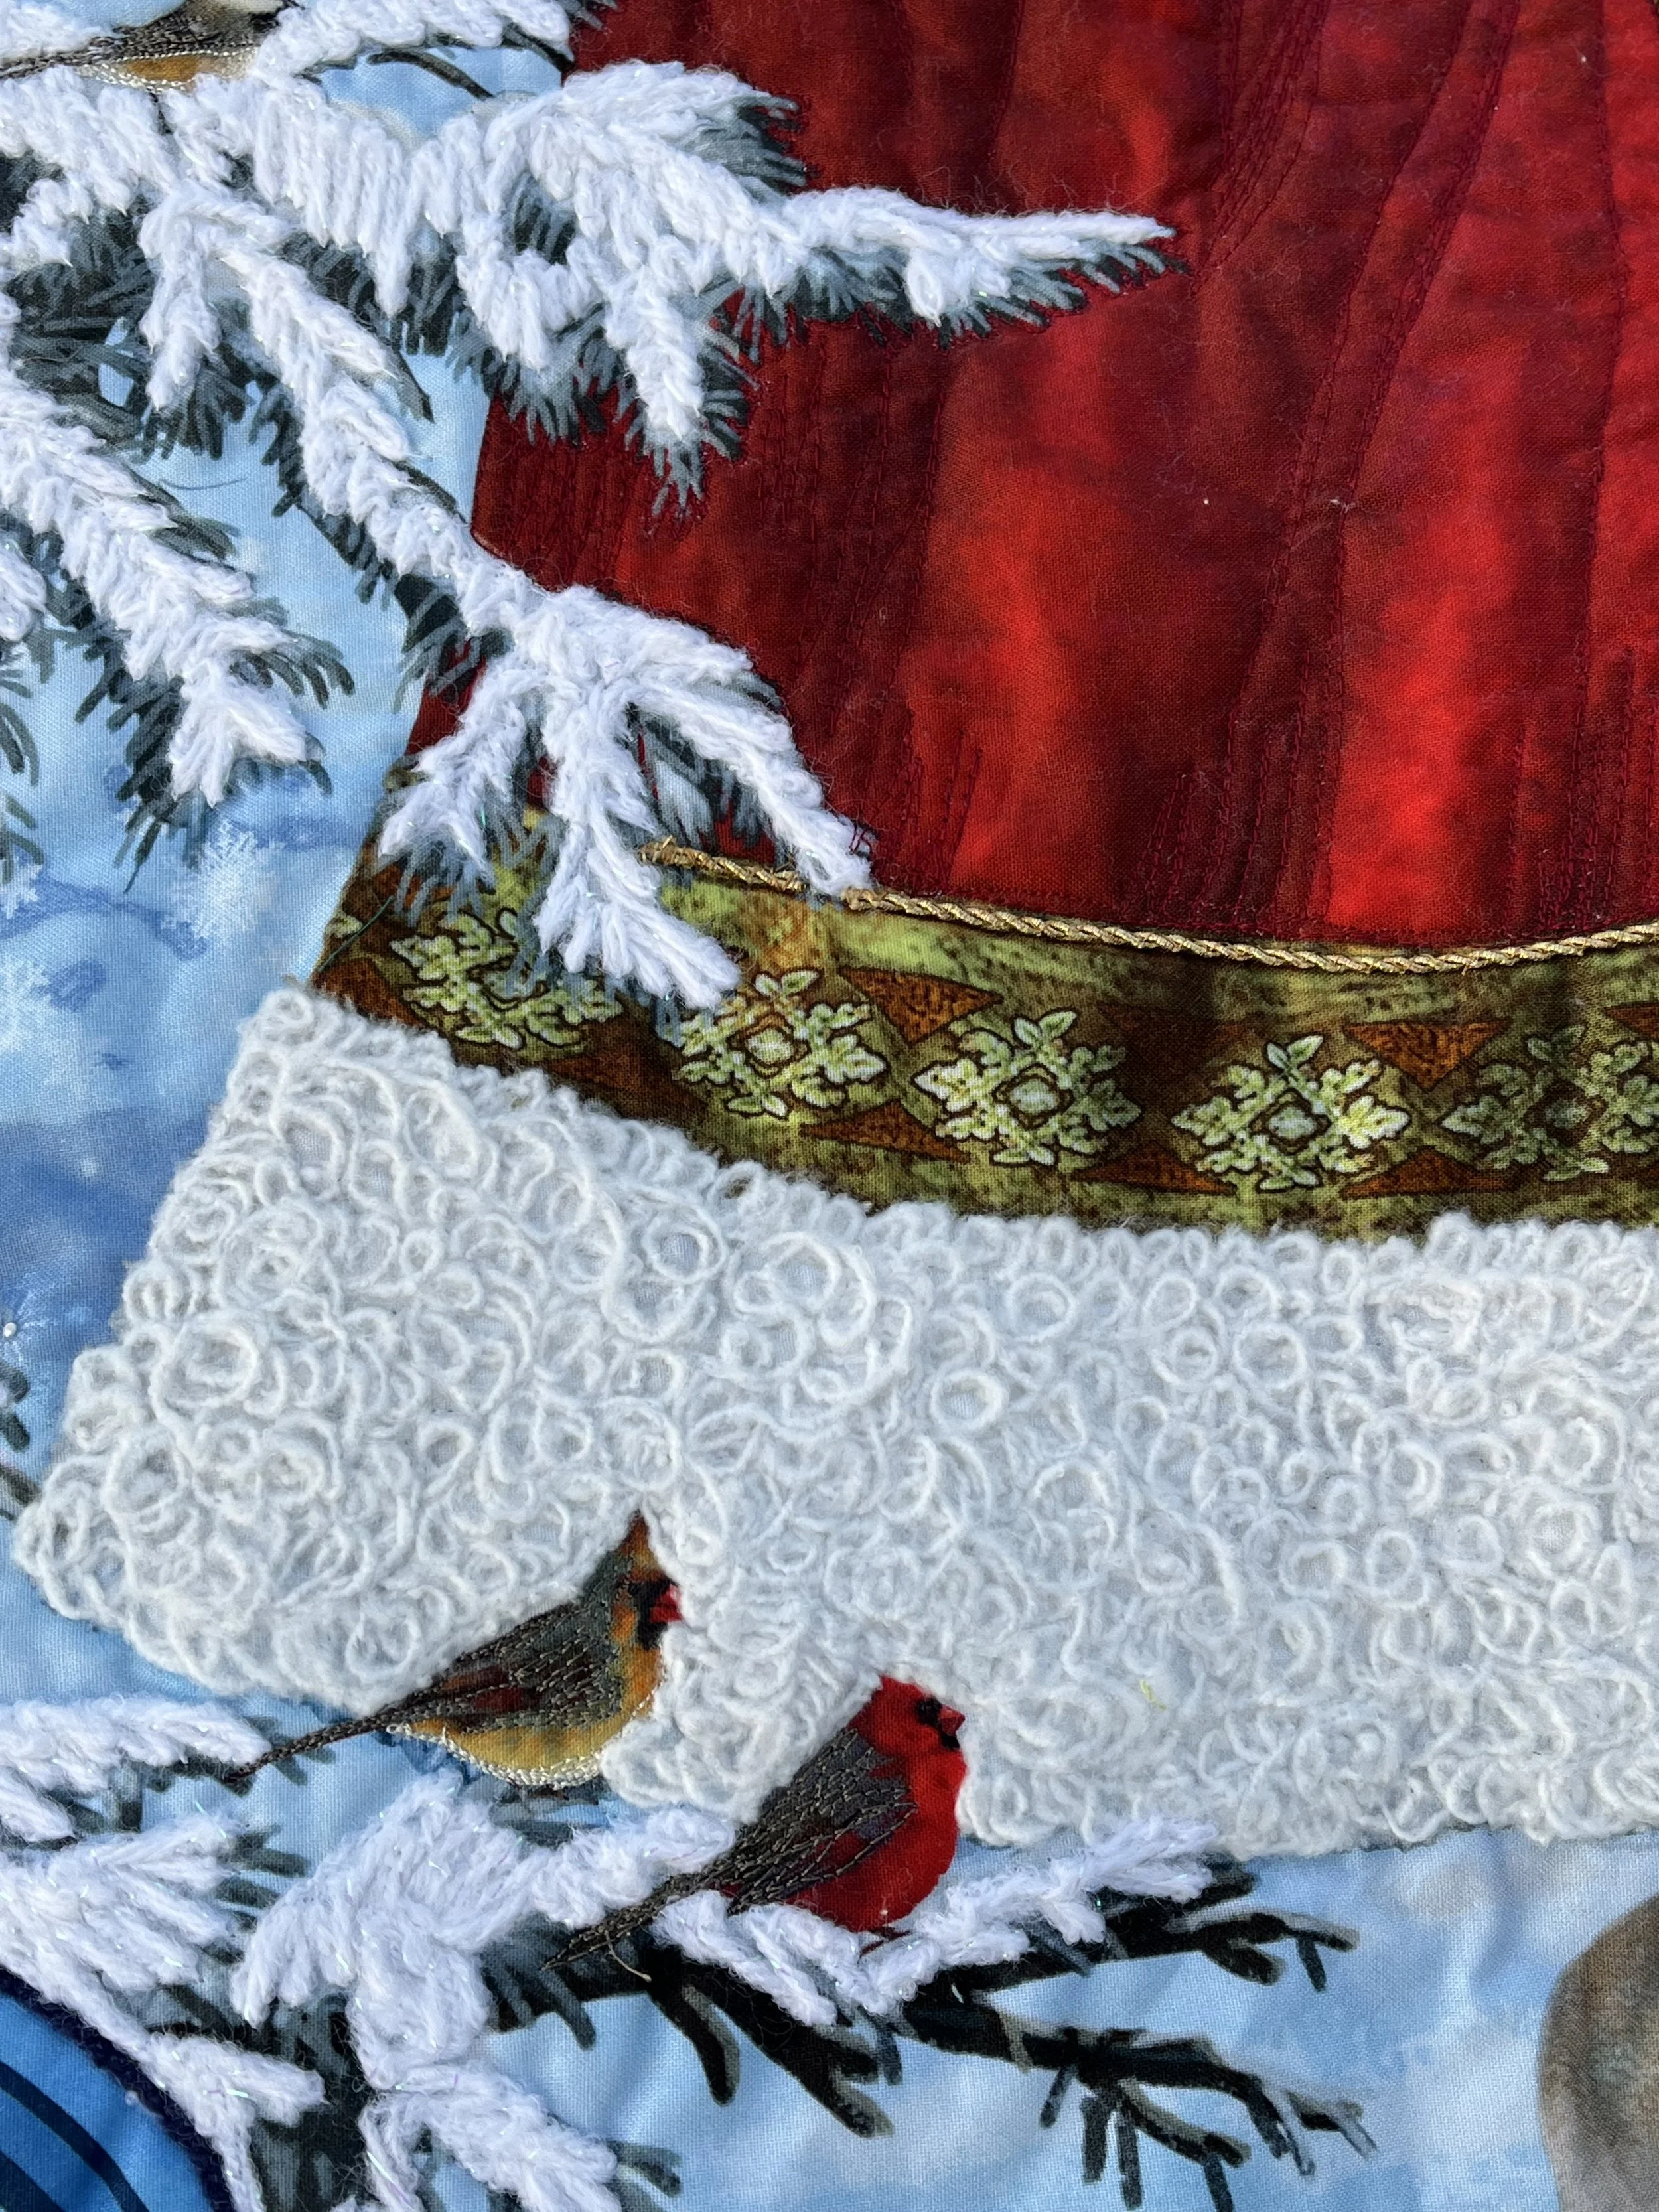
To finish this one off I did a little thread sketching in the birds, the coat and his bag. And a final touch was to add the braid in the trim of his coat.
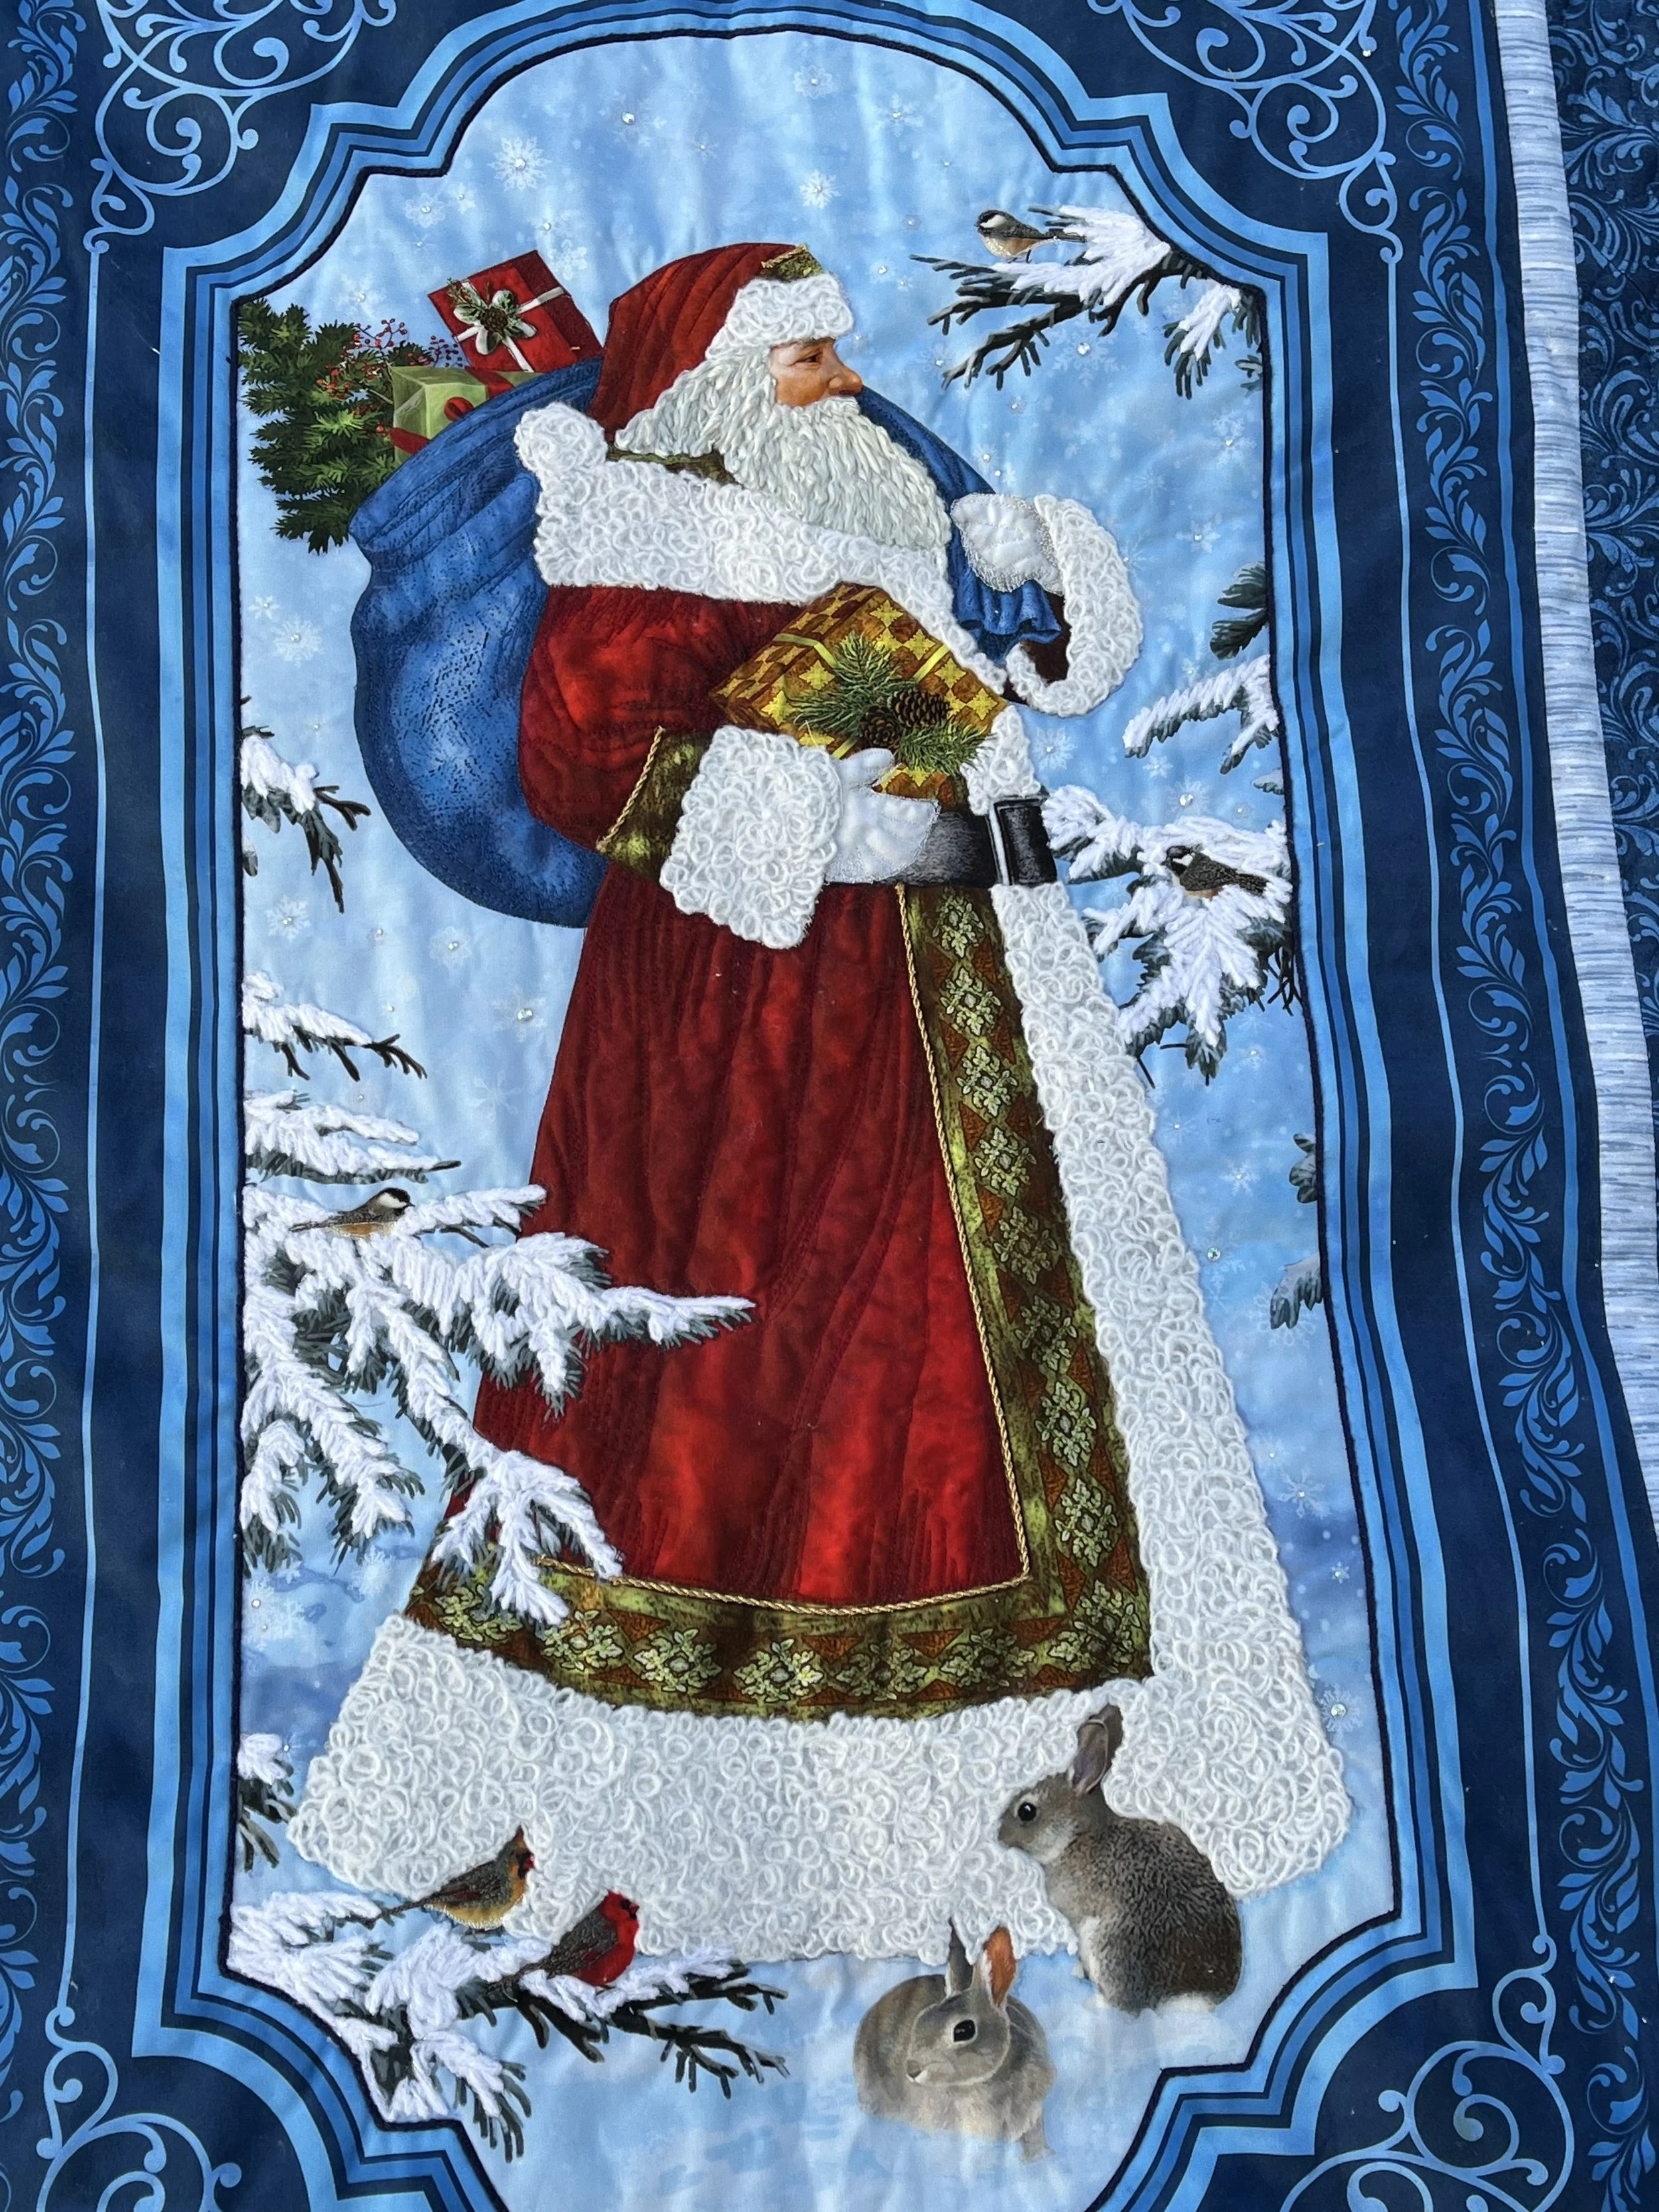
I am loving the way this beautiful panel now has more dimension and makes you want to touch the texture.
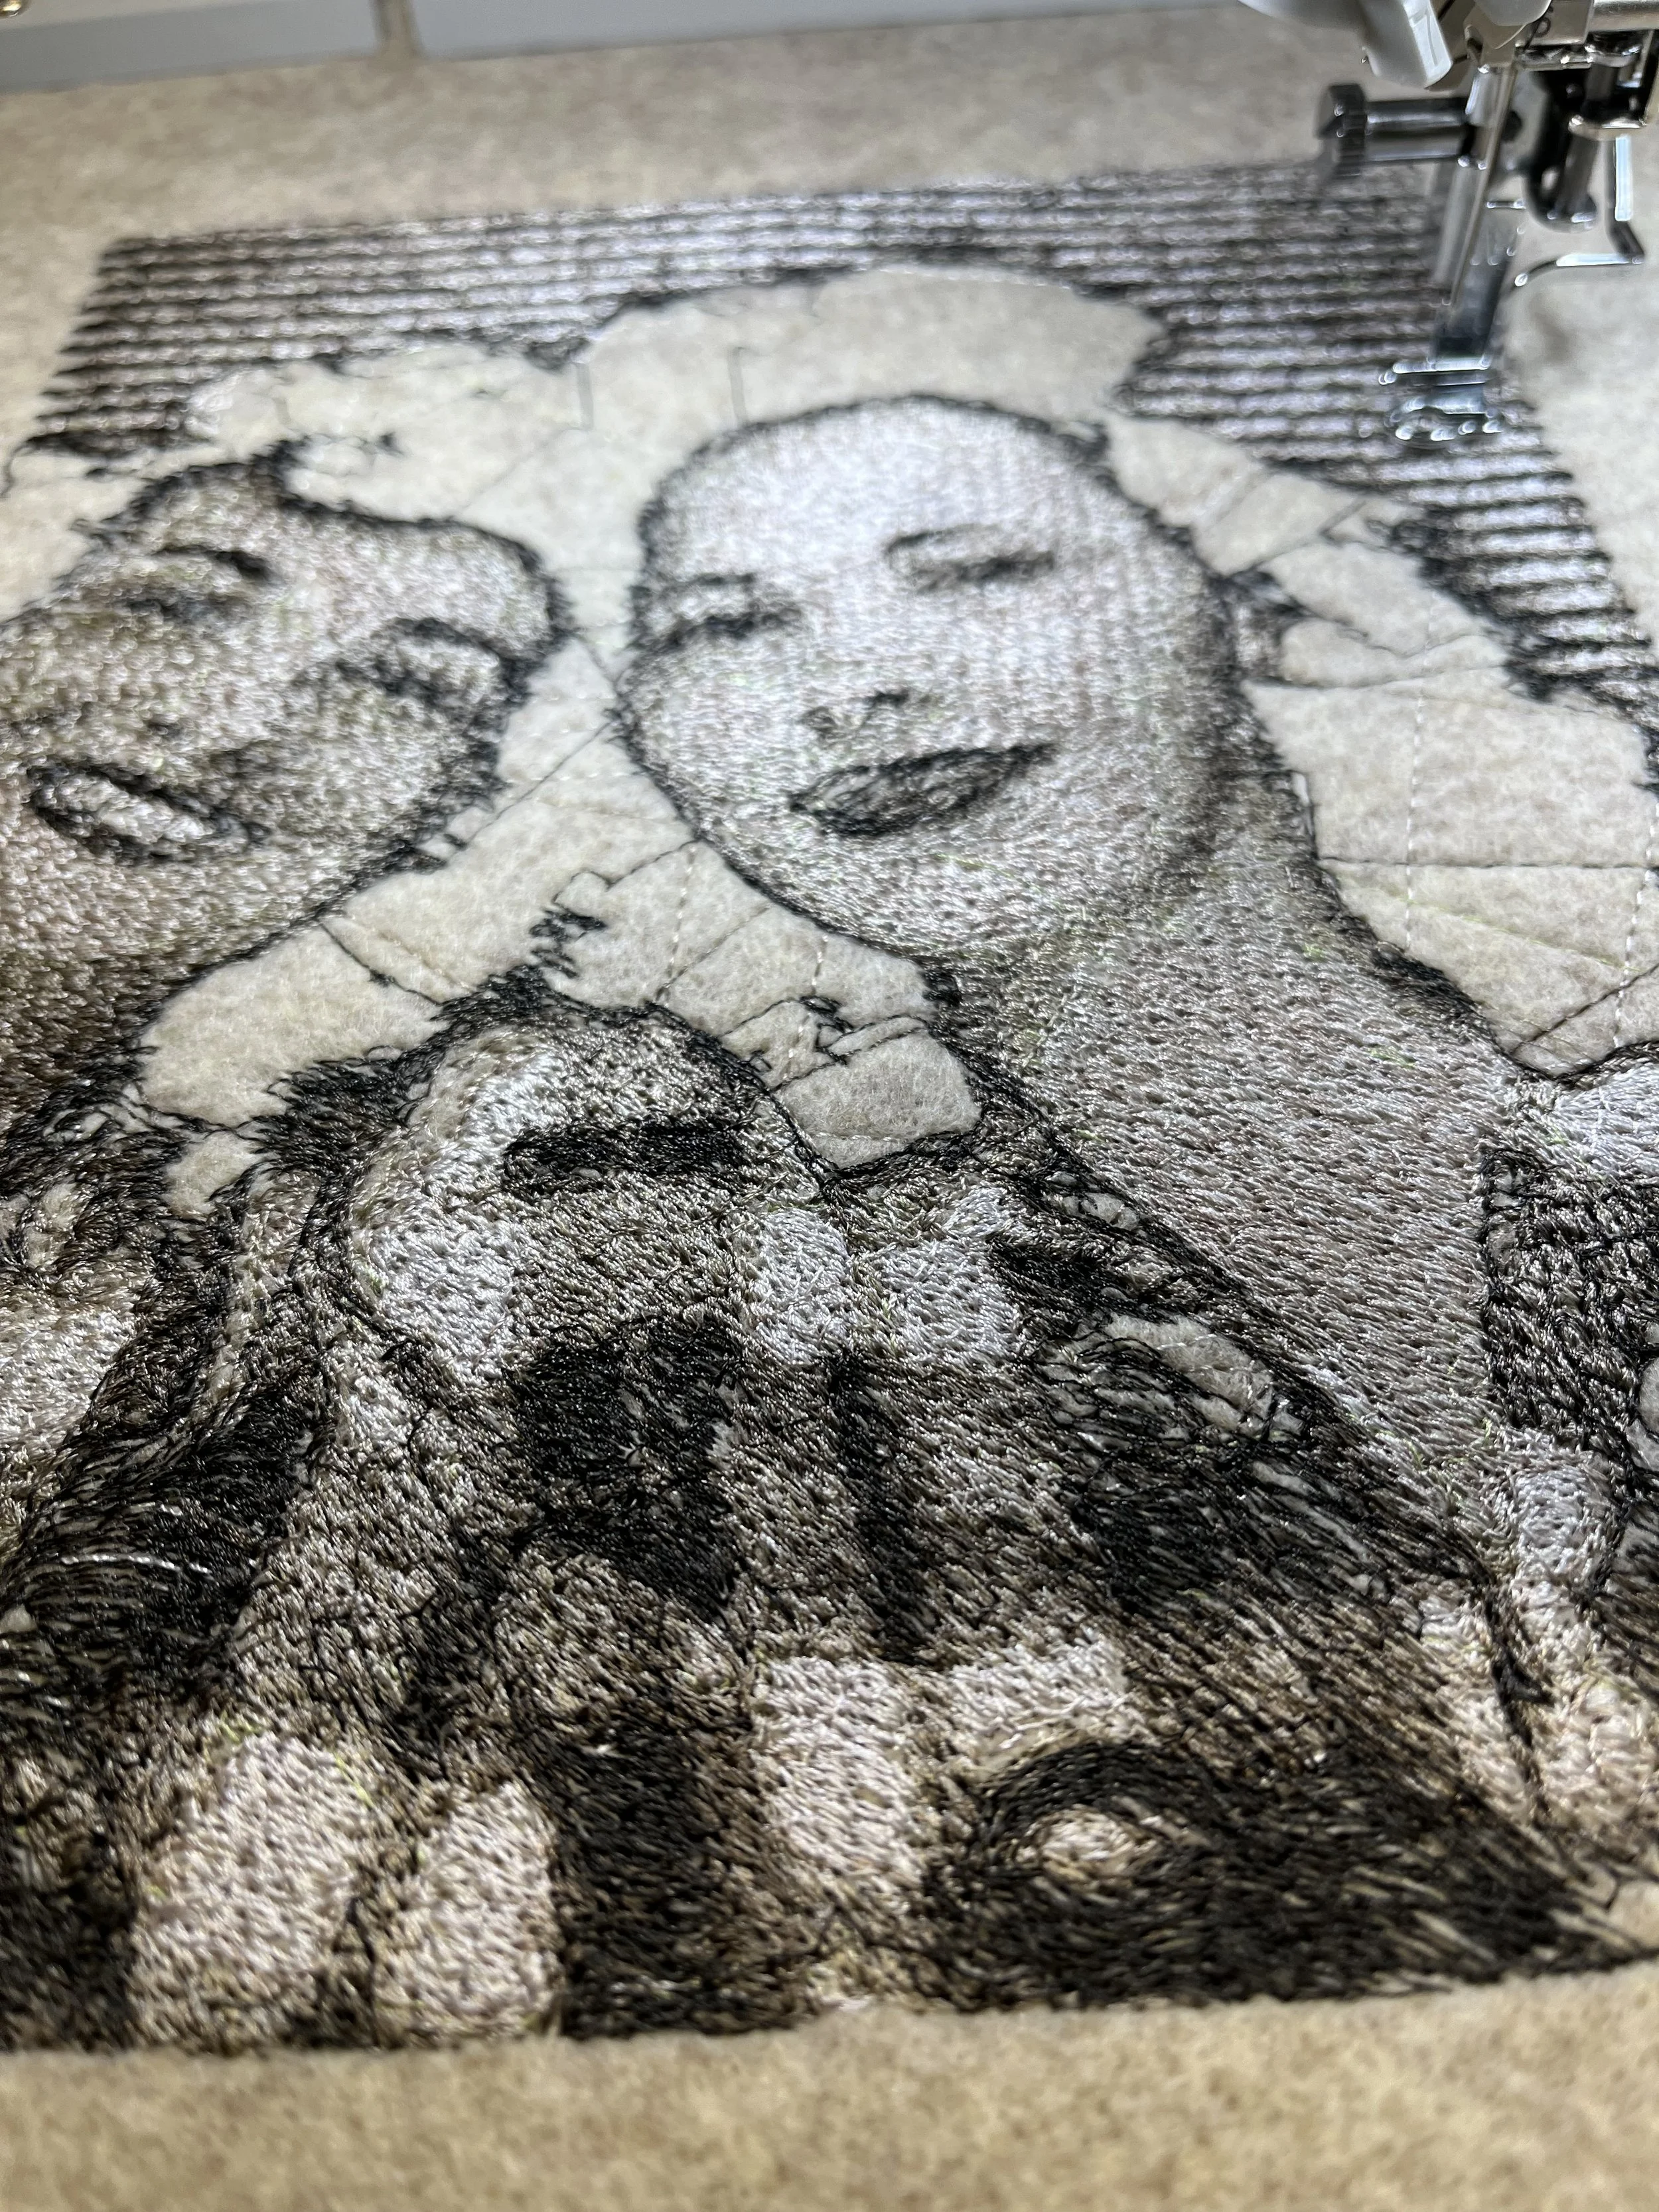
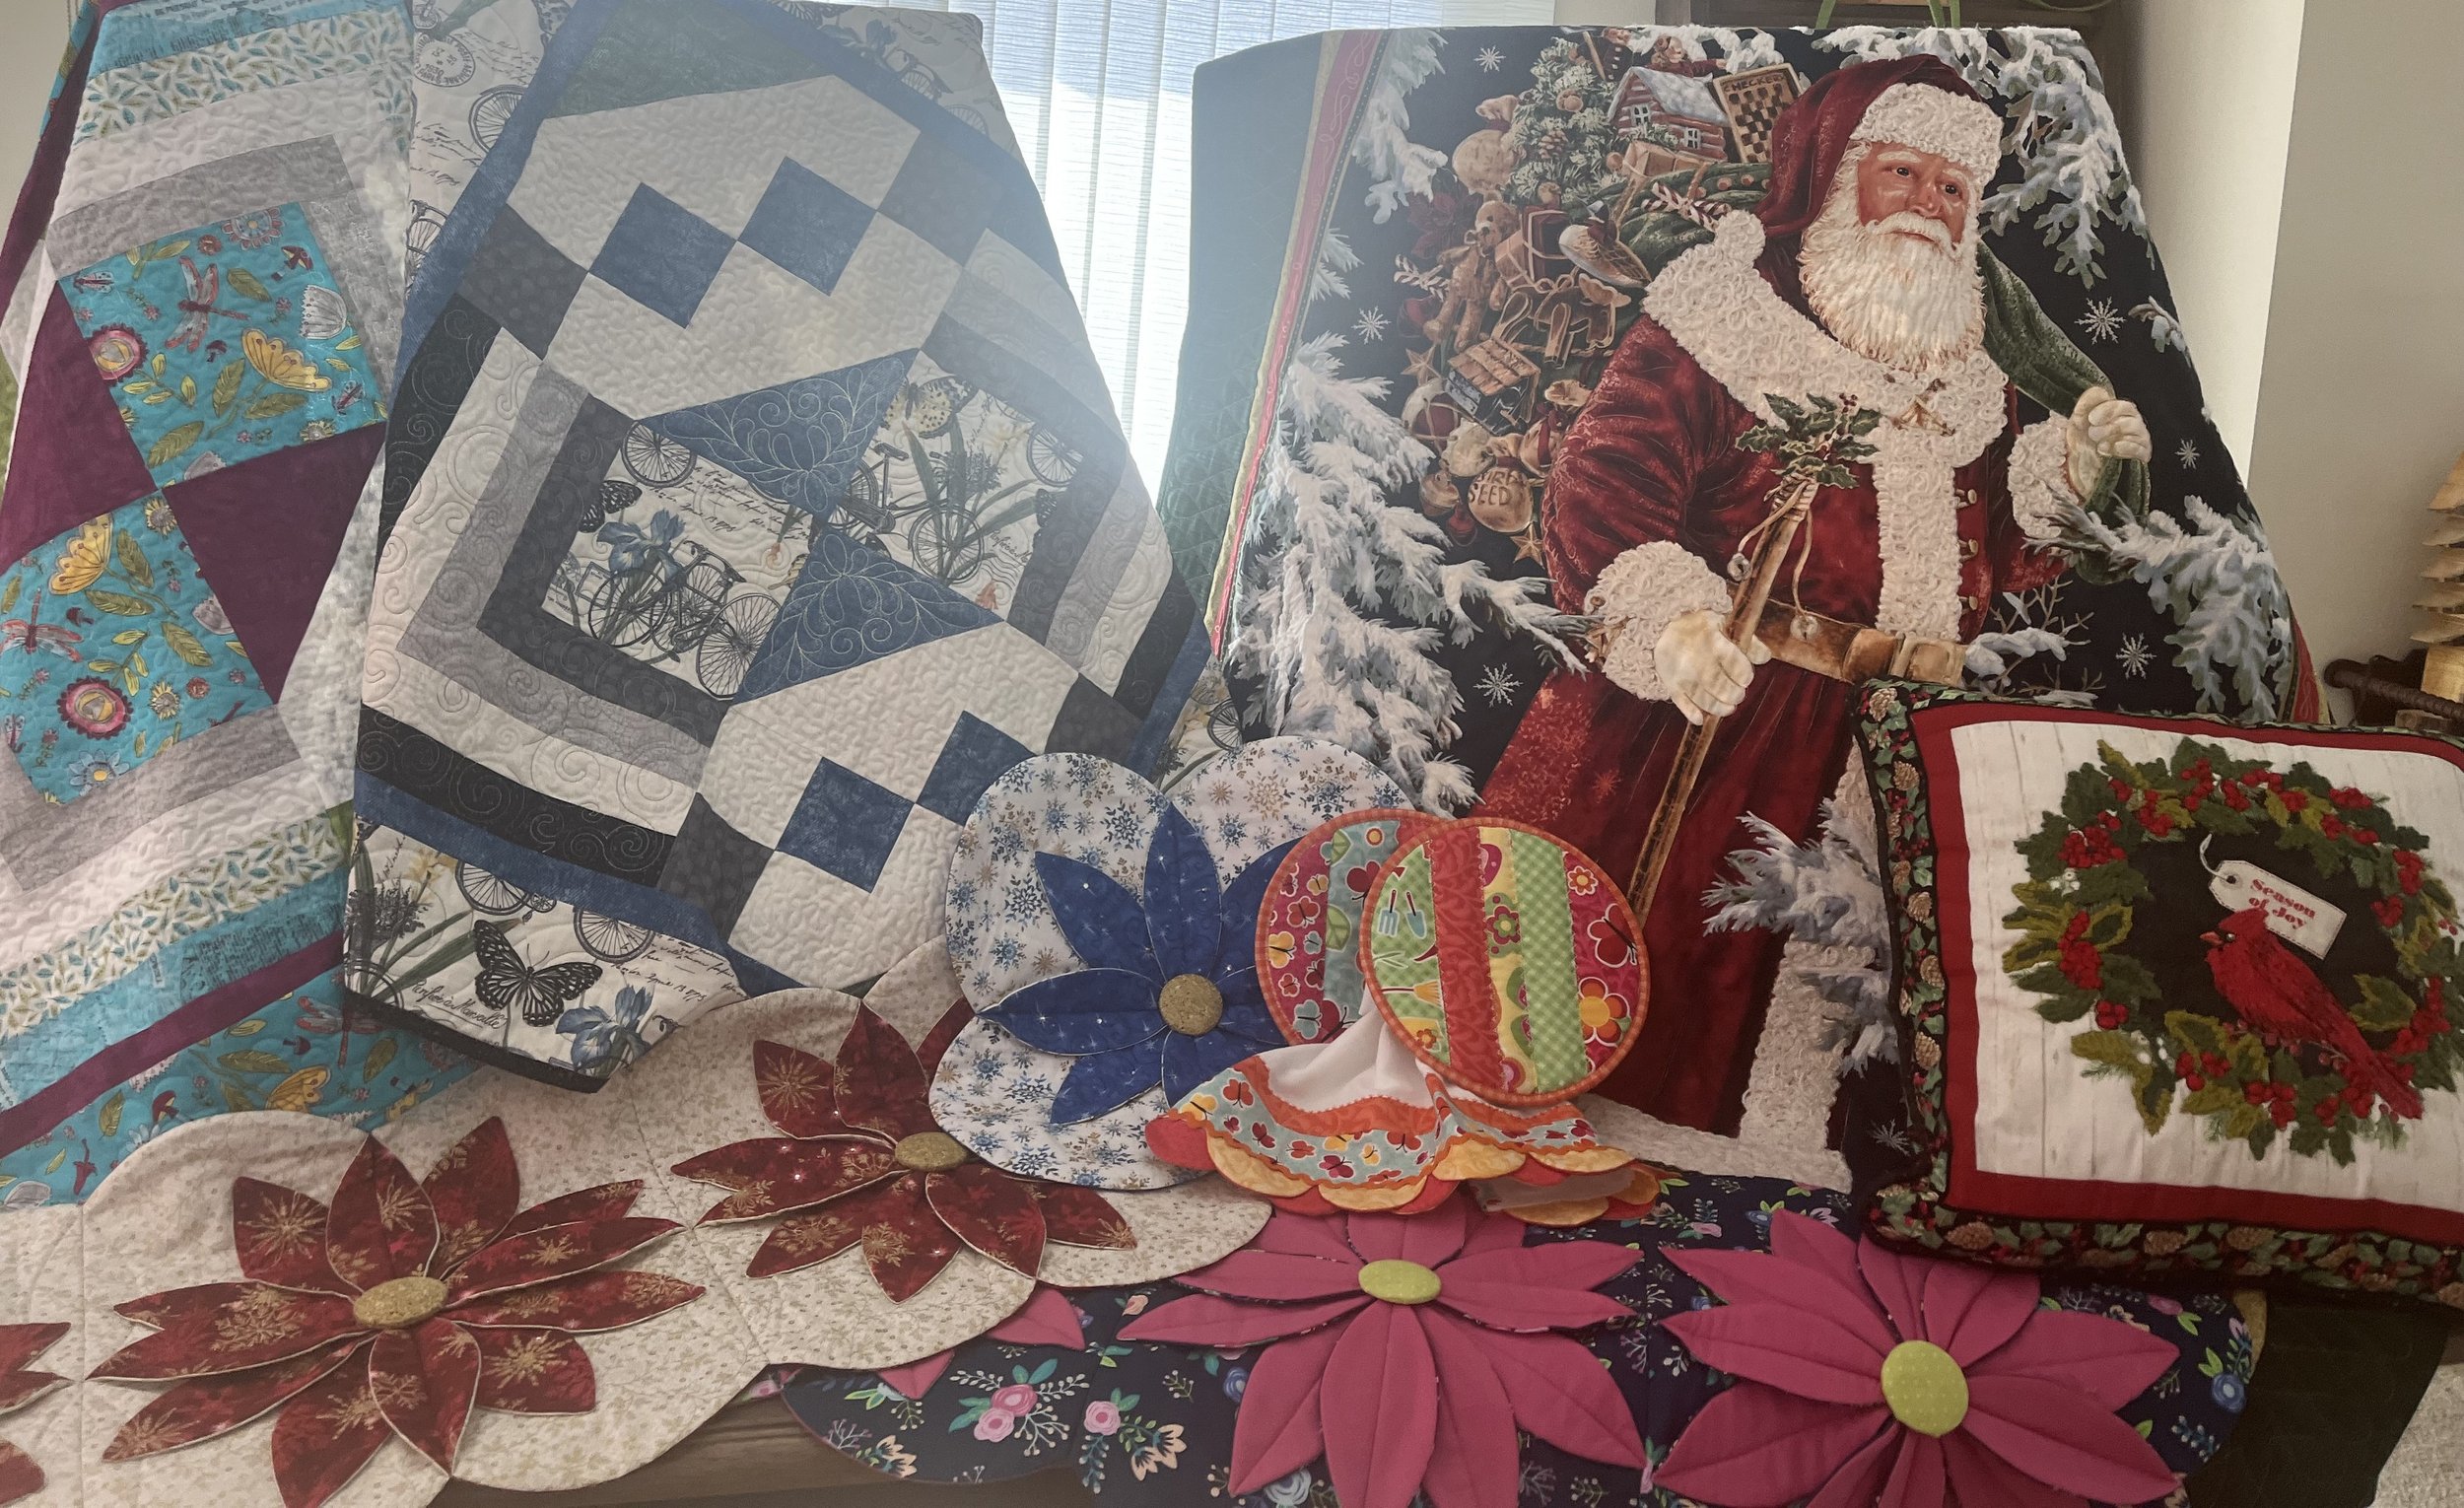
And because I can’t stop when I am on a roll, I found this smaller panel in my stash of fabrics and did a little free-motion couching on it.


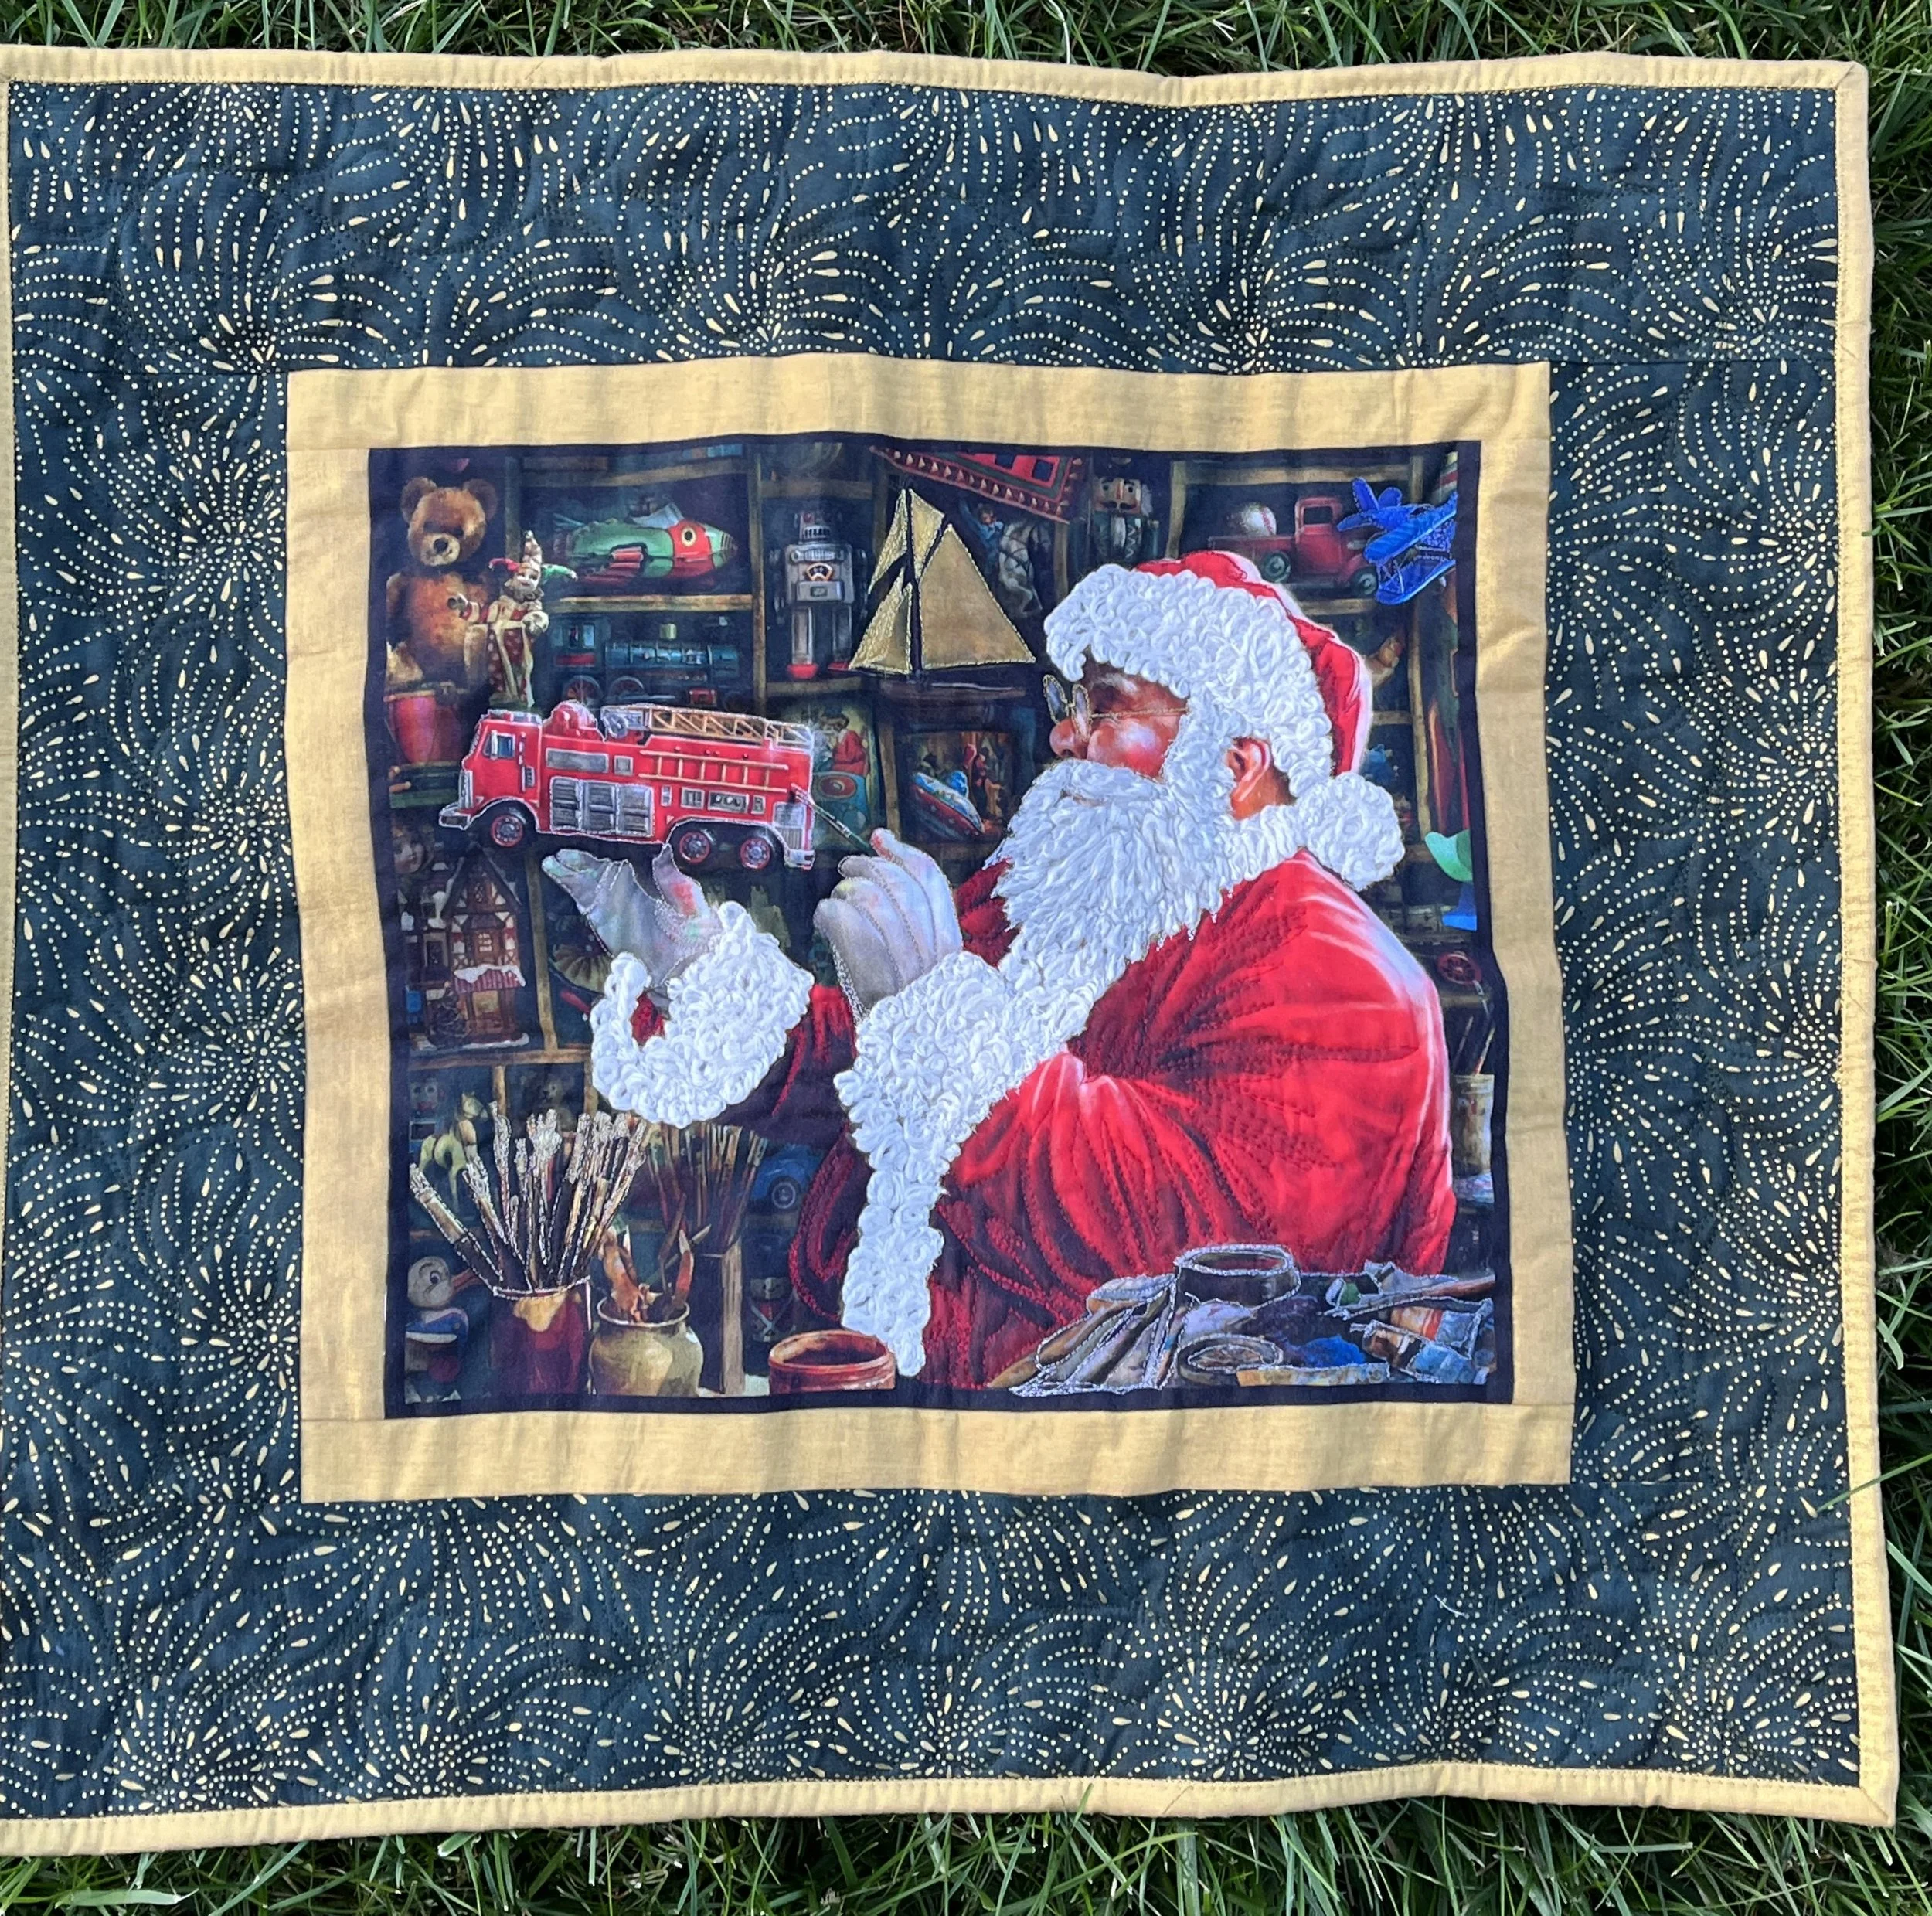
It always amazes me what a little yarn and thread will do!
Don’t you just want to touch him?